Air fryer dehydration guide: Dehydrate fruits, herbs, and jerky fast using low temp and airflow.
I’ve spent years testing countertop cooking methods, and this air fryer dehydration guide packs practical tips, reliable times, and safety notes you can use today. Read on for a clear, step-by-step approach, real-world troubleshooting, and recipe ideas so you can confidently dry snacks and ingredients in your air fryer.

Why choose an air fryer dehydration guide for home drying
Air fryers are fast, affordable, and common in kitchens. This air fryer dehydration guide explains why they are a great tool for small-batch dehydration.
You get steady airflow and adjustable heat. This helps remove moisture evenly without needing a dedicated dehydrator.
Many people already own an air fryer. That makes the air fryer dehydration guide practical for beginners and busy cooks.
Using this guide saves money, reduces food waste, and creates healthy snacks like fruit leather and jerky.

How air fryer dehydration works: basics and temperature rules
Dehydration uses heat and airflow to remove water from food. This air fryer dehydration guide focuses on low heat and good air circulation.
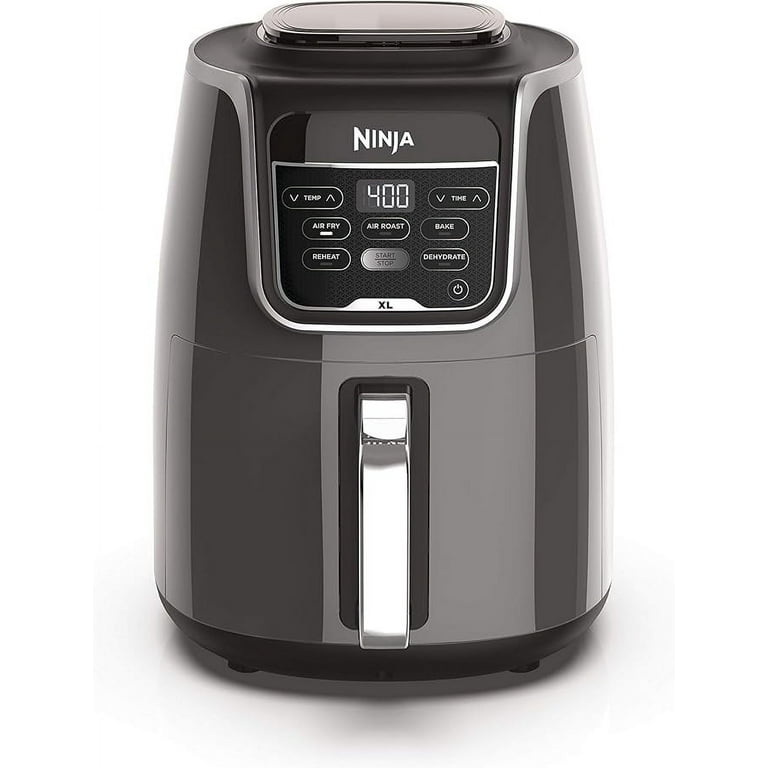
Most air fryers can run at 120°F to 180°F (50°C to 82°C). For safe dehydration, aim for 125°F to 140°F for fruits and herbs, and 145°F to 160°F for jerky.
Airflow is often the secret. A consistent fan moves moist air away. This air fryer dehydration guide recommends leaving gaps between slices and using racks when possible.

What foods work best with an air fryer dehydration guide
You can dehydrate many foods in an air fryer. This air fryer dehydration guide covers common categories and tips for each.
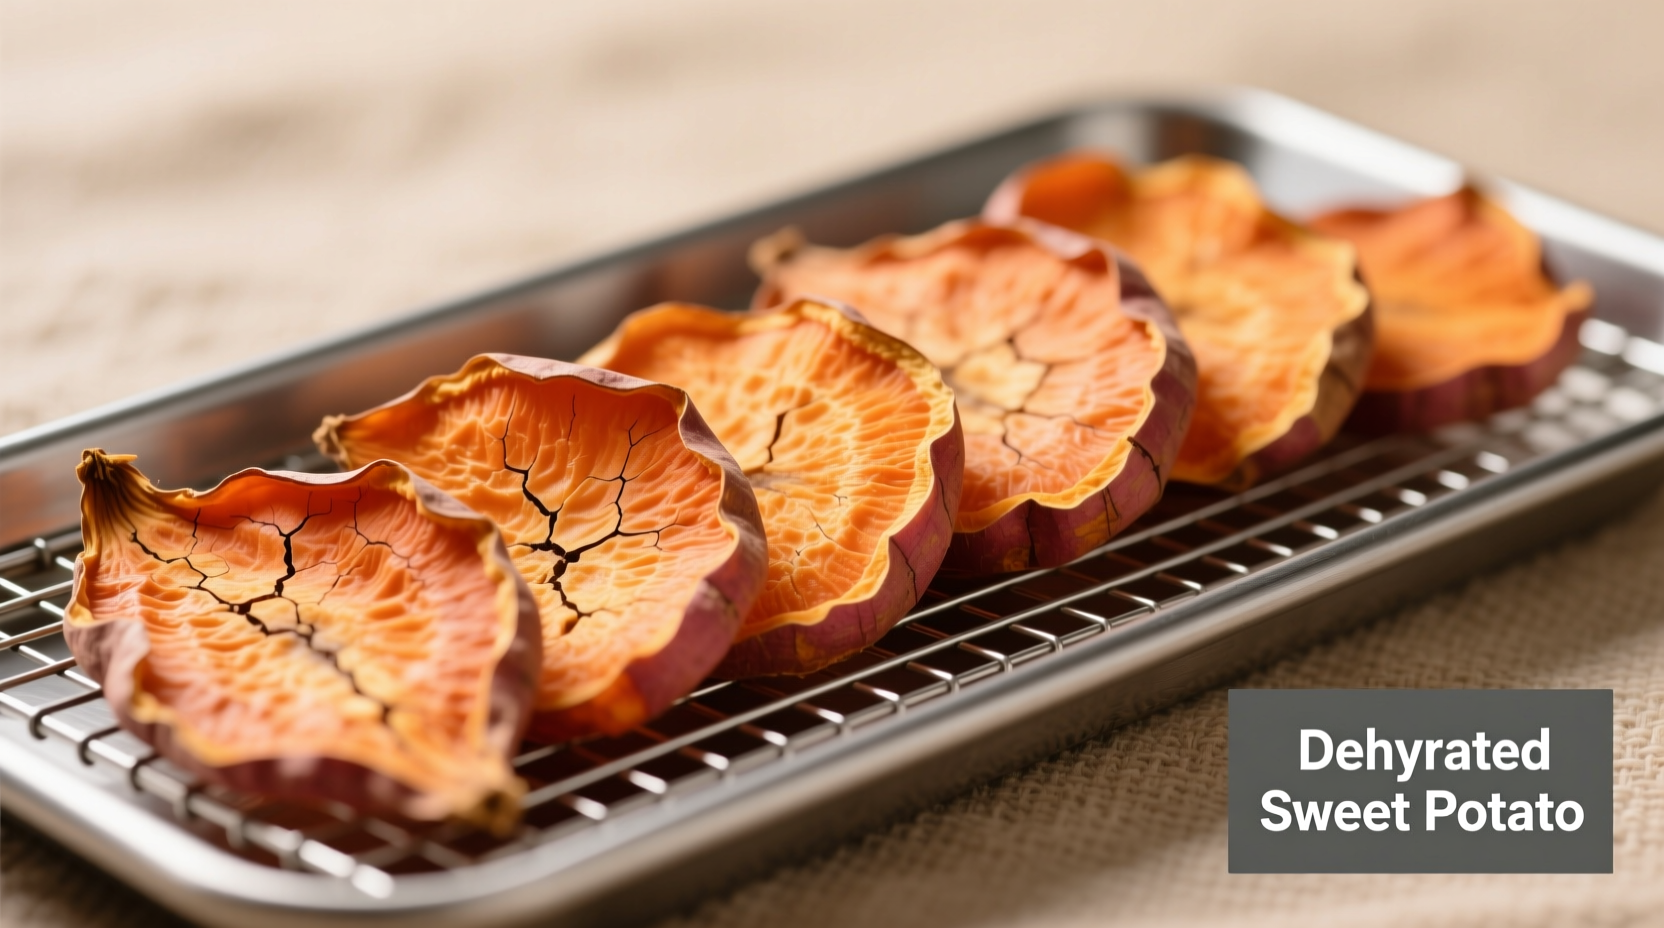
- Fruits: apple slices, banana chips, mango, strawberries. Slice evenly to ensure uniform drying.
- Vegetables: tomatoes, peppers, kale, zucchini. Blanch firm vegetables briefly to speed drying for some types.
- Herbs: basil, rosemary, thyme. Dry on a single layer at lower temps to retain oils and flavor.
- Meats: thinly sliced beef or turkey jerky. Marinate, pat dry, and monitor temperature for safety.
- Snacks: fruit leather, yogurt drops. Use parchment or silicone to contain purees.
Small batches are ideal. The air fryer dehydration guide is geared toward quick, at-home projects, not large commercial loads.
Step-by-step air fryer dehydration guide (prep, settings, timing)
Follow simple steps from prep to storage. This air fryer dehydration guide lays out the process clearly.
- Prep and slice
- Wash and dry produce thoroughly.
- Slice food uniformly—aim for 1/8 to 1/4 inch for fruits and veggies.
- Pretreat when needed
- Dip apple or pear slices in lemon water to prevent browning.
- Blanch some vegetables for 1–2 minutes if they are very firm.
- Arrange in the basket or on racks
- Place slices in a single layer with space between pieces.
- Use racks or a perforated tray if your air fryer supports them.
- Set temperature and time
- Fruits and herbs: 125°F–140°F for 4–12 hours depending on thickness.
- Vegetables: 125°F–150°F for 4–10 hours.
- Jerky: 145°F–160°F for 4–8 hours, ensuring internal safety temps are met.
- Check and rotate
- Check every 1–2 hours. Rotate trays or flip slices to dry evenly.
- Test for doneness
- Fruit should be leathery, not sticky. Herbs should crumble. Jerky should be pliable and fully dried through.
- Cool and store
- Let pieces cool completely before storing in airtight containers or vacuum bags.
This air fryer dehydration guide helps you adapt times based on slice size, humidity, and air fryer model.
Tips, tricks, and troubleshooting for the air fryer dehydration guide
Here are practical tips I learned from testing multiple sessions with my own units.
- Use thin, uniform slices to cut time and avoid uneven drying.
- Avoid overcrowding; stacked pieces trap moisture.
- If your air fryer lacks a low-temp setting, prop the drawer slightly open with a wooden spoon (if safe for your model) to lower heat. Monitor carefully.
- Place a small oven-safe dish of water outside the air stream to slow drying when needed for delicate items.
- For fruit leather, spread puree thinly on parchment and check after 3–4 hours.
- Keep a digital thermometer handy for jerky to ensure safe internal temps.
Mistakes to avoid:
- Trying to dry large batches at once.
- Using very high heat—this cooks, it doesn’t dehydrate.
- Storing warm pieces without cooling—this invites mold.
Applying these tips will improve results and reduce wasted batches in your air fryer dehydration guide experiments.
:max_bytes(150000):strip_icc()/how-to-dehydrate-apples_Beauty_preview-66befc687a464d919aec43a13f4990a6.jpg)
Safety, limitations, and what to expect from this air fryer dehydration guide
Dehydrating in an air fryer is convenient, but there are limits. This air fryer dehydration guide covers safety and realistic expectations.
- Safety: For meat, always follow food-safety temperatures and guidelines. Use a food thermometer.
- Capacity: Air fryers are best for small batches—expect smaller yields than a full dehydrator.
- Texture: Air fryers can produce slightly crisp edges due to concentrated airflow. That’s normal.
- Odors: Strong-smelling foods may leave lingering smells. Clean the basket and filters after use.
Be transparent: not all air fryers hold very low temps, and results can vary by model. This air fryer dehydration guide explains how to adapt, but a dedicated dehydrator remains best for large or very precise projects.

Tested recipes and personal notes from my air fryer dehydration guide
I’ll share recipes I tested repeatedly. These reflect real results and small adjustments I made.
Apple chips
- Slice apples 1/8 inch thin. Toss in lemon water and pat dry. Arrange single layer. Dehydrate at 135°F for 4–6 hours. Flip at halfway mark.
Beef jerky
- Slice flank steak thin. Marinate 4–8 hours, then pat dry. Place on air fryer rack. Dehydrate at 150°F for 3–6 hours until pliable and dry. Finish with a quick oven bake at 165°F if your air fryer struggles to reach steady low heat.
Herb flakes
- Dry basil leaves at 125°F for 1–3 hours until crisp. Crush and store in glass jars.
Personal note: My first batch of fruit leather stuck because the puree was too thick. I thinned it slightly and used parchment next time—problem solved. This is the kind of hands-on insight embedded in this air fryer dehydration guide.
Frequently Asked Questions of air fryer dehydration guide
What is the best temperature for dehydrating fruit in an air fryer?
For most fruits, 125°F to 140°F works well. Thin slices dry faster, so check between 3 and 6 hours.
Can I make jerky safely in an air fryer?
Yes, but monitor internal meat temperature and follow safety guidelines. Use 145°F–160°F and verify doneness with a thermometer.
How do I prevent fruit from sticking to the tray?
Use parchment, silicone mats, or lightly oil the tray. Keep slices thin and spaced apart to reduce sticking.
How long does dehydration take in an air fryer?
Times vary by food and thickness but expect 3–12 hours. Check periodically and adjust based on texture.
Is an air fryer as good as a dehydrator?
Air fryers work well for small batches and quick tests. A dedicated dehydrator offers better capacity and precise low temps for large or frequent projects.
How should I store dehydrated foods?
Store fully cooled pieces in airtight containers or vacuum bags in a cool, dark place. For long-term storage, consider freezer packets.
Conclusion
This air fryer dehydration guide gives a clear, practical path from prep to storage. You can dry fruits, herbs, vegetables, and jerky safely and economically with the tips here. Try one small batch this week, learn from the results, and tweak slices, temps, or times to match your machine. If you enjoyed these tips, leave a comment with your results, subscribe for more hands-on kitchen guides, or try the apple chips recipe to start.
