How to Fix Toaster Shade Setting Not Working: Quick Solutions
Toaster Shade Setting Not Working: How to Fix It Quickly and Easily
If your toaster shade setting is not working, it usually means the internal sensor or timer is faulty, or crumbs are blocking the mechanism. Cleaning your toaster and recalibrating the shade dial often solves the problem. If issues persist, checking wiring or replacing parts may be needed to restore perfect toasting.
Toasting bread is a simple kitchen task, but when your toaster’s shade setting doesn’t work, it can be frustrating. You pick your preferred darkness level, but the bread still comes out burnt or barely toasted. This is a common problem that can happen with any toaster brand, from budget models to high-end Breville or Cuisinart appliances. Luckily, you don’t need to toss your toaster or call a repairman right away. With clear, step-by-step guidance, you can troubleshoot and fix the toaster shade setting not working, saving time and money. Let’s explore the causes, solutions, and maintenance tips to keep your toaster working perfectly.
Why Is My Toaster Shade Setting Not Working?
Understanding why your toaster shade setting isn’t working helps you fix it faster. The shade setting controls how long the toaster heats your bread — too short, and it’s pale; too long, and it’s burnt. Here are the main reasons it might fail:
- Crumbs and debris buildup: Crumbs stuck inside can block sensors or mechanical parts.
- Faulty heating elements: Burned-out elements don’t heat evenly or at all.
- Broken timer or shade dial: The dial might not properly connect with the timer mechanism.
- Internal wiring issues: Loose or damaged wires affect thermostat or control circuits.
- Malfunctioning sensor: Some toasters use sensors to detect toast color; if broken, shade control fails.
Knowing these causes helps you target your troubleshooting instead of guessing.
Step-by-Step Guide to Fixing Toaster Shade Setting Not Working
Follow these straightforward steps to diagnose and often fix the shade setting issue yourself.
1. Unplug and Cool Down Your Toaster
Safety first: always unplug the toaster and let it cool completely before starting any work. This prevents electric shock and burns.
2. Clean Out Crumbs and Debris
Crumbs are the #1 cause of shade settings malfunctioning. They can jam internal parts or disrupt sensors.
- Remove the crumb tray and empty it.
- Shake the toaster gently over a trash bin to loosen stuck crumbs.
- Use a soft brush or a can of compressed air to clean inside the slots.
- Wipe the inside with a damp cloth if accessible, but never submerge the toaster.
Regular cleaning prevents buildup that affects performance. Check the Breville toaster user manual for cleaning tips specific to your model.
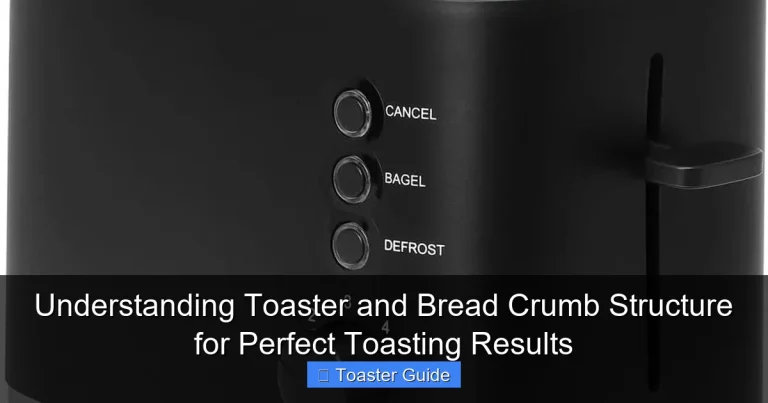
3. Test the Shade Dial
Turn the shade dial through all settings and listen for clicks or feel resistance. If it spins freely without stopping, the dial may be broken or disconnected internally.
Try these fixes:
- Remove the dial knob if possible, then reattach it firmly.
- If you see a loose screw or gear, tighten it carefully.
- Compare with the Cuisinart toaster manual for part alignment.
4. Inspect Heating Elements
Look at the heating wires inside the slots. They should glow red when toasting. If some don’t light up, those elements may be burned out, causing uneven browning regardless of shade setting.
If you suspect this, it’s best to contact professional service or consider replacing the toaster.
5. Check Internal Wiring and Timer
For those comfortable opening appliances, remove screws to access internal components. Look for:
- Disconnected or frayed wires.
- Burn marks or melted parts.
- Loose timer connections.
Fixing wiring requires care and sometimes soldering. Consult your toaster’s official support page or a professional technician.
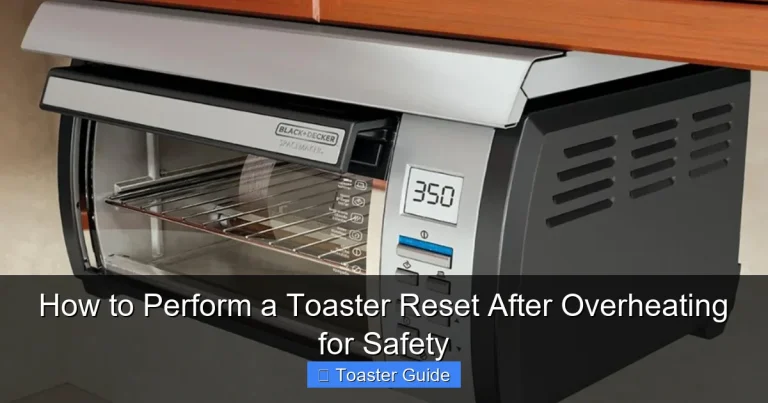
6. Calibrate or Reset the Toaster
Some modern toasters have reset procedures or calibration settings to realign shade controls. Check your model’s instructions on the manufacturer’s website. For example, Philips offers detailed troubleshooting on their Philips appliance support page.
Common Mistakes to Avoid When Fixing Toaster Shade Settings
- Ignoring safety precautions: Never work on a plugged-in toaster.
- Using water inside the toaster: Avoid water contact with electrical parts to prevent damage.
- Forcing the shade dial: Excessive force can break internal gears.
- Skipping regular cleaning: Neglecting crumb buildup leads to recurring problems.
- Trying complex repairs without experience: Some repairs are better left to professionals.
Pro Tips for Maintaining Your Toaster and Preventing Shade Issues
- Empty the crumb tray weekly to prevent buildup.
- Use only recommended bread types and slice thickness to avoid jamming.
- Don’t insert oversized items that can block heating elements.
- Store your toaster in a dry place to avoid moisture damage.
- Check the shade dial regularly for smooth operation.
Following these simple habits extends your toaster’s life and keeps shade settings accurate.
Pros and Cons of DIY Toaster Shade Setting Fixes
| Pros | Cons |
|---|---|
| Save money on repairs or replacements | Risk of damaging the toaster if done incorrectly |
| Learn useful appliance maintenance skills | May void warranty if toaster is disassembled |
| Quick fixes avoid waiting for professional help | Some issues require specialized parts or tools |
How to Choose a Reliable Toaster with Accurate Shade Settings
If your toaster frequently has shade problems or you want a new one, consider these buying tips:
- Look for quality brands: Breville, Cuisinart, and Philips offer models known for consistent shade control.
- Check user reviews: Focus on feedback about shade accuracy and durability.
- Choose models with easy-to-clean crumb trays: Helps maintain shade settings.
- Prefer toasters with multiple shade levels: Gives better control over browning.
- Verify warranty and support: Reliable customer service helps if problems arise.
Refer to Energy Star efficiency guidelines for energy-saving options when shopping.
Frequently Asked Questions About Toaster Shade Settings
1. Why does my toaster only toast on one side regardless of the shade setting?
This usually means one heating element is burned out. Toasters have heating wires on both sides of each slot. If one side doesn’t heat, your bread will toast unevenly. Testing the toaster by running it without bread can help spot this issue. If a heating element is faulty, replacement or a new toaster may be necessary.
2. Can I fix a toaster shade setting problem without opening the toaster?
Yes, many shade setting problems are caused by crumb buildup or dial misalignment, which you can fix externally by cleaning and adjusting the dial. However, if the issue is internal wiring or a broken timer, you may need to open the toaster or seek professional help.
3. How often should I clean my toaster to avoid shade setting issues?
Cleaning the crumb tray weekly and shaking out crumbs monthly is ideal for preventing buildup that affects shade settings. Regular maintenance keeps sensors and mechanical parts working smoothly and extends the toaster’s lifespan.
4. Is it normal for the shade dial to feel loose or spin freely?
No, the shade dial should have some resistance and click into settings. If it spins freely, it may have come loose or the internal connection is broken. Tightening or replacing the dial might be needed.
5. Can moisture cause my toaster shade setting to malfunction?
Yes, moisture can damage electrical components or cause corrosion inside the toaster, leading to faulty shade control. Keep your toaster dry and avoid cleaning with water near electrical parts. Use a dry cloth and compressed air for cleaning.
6. Are sensor-based toasters more reliable for shade control?
Sensor-based toasters use light or heat sensors to adjust toasting automatically, often providing more consistent results. However, sensors can fail or get dirty, causing shade problems. Regular cleaning and proper use are still essential for all toaster types.
7. What should I do if my toaster is still not working after troubleshooting?
If cleaning and basic fixes don’t work, check your toaster’s warranty and consider professional repair or replacement. Sometimes internal parts like the timer or heating elements fail and aren’t worth fixing. Manufacturer support pages, like the Panasonic toaster oven support page, can guide you on service options.
Conclusion: Get Your Toaster’s Shade Setting Working Perfectly Again
A malfunctioning toaster shade setting can disrupt your morning routine, but most problems have simple solutions. Start by unplugging your toaster and thoroughly cleaning out crumbs. Check the shade dial and heating elements for obvious issues. With patience and care, many fixes are DIY-friendly and save you from buying a new appliance. Regular maintenance prevents future problems and keeps your toaster delivering perfect toast every time. If internal repairs are needed, manufacturer manuals and support pages offer valuable guidance. Whether you’re troubleshooting a familiar model or shopping for a new one, understanding how shade settings work helps you make smarter choices and enjoy reliable kitchen tools.