Easy Stainless Steel Toaster Cleaning Guide for 2026
Keeping your stainless steel toaster looking spotless and performing well doesn’t have to be a chore. With everyday use, toasters can accumulate crumbs, fingerprints, and smudges that dull their sleek finish and even affect their function. If you’re wondering how to clean stainless steel toaster surfaces and interiors safely and efficiently, this guide will walk you through straightforward steps and practical tips. You’ll learn how to maintain your appliance’s shine, remove stubborn stains, and keep it operating smoothly—all without fuss or fancy tools.
Why Stainless Steel Toasters Need Special Care
Stainless steel is a popular choice for kitchen appliances because it resists rust and looks modern. However, its smooth surface can show fingerprints, water spots, and streaks easily. Moreover, crumbs and grease trapped inside the toaster can cause uneven toasting or even pose a fire hazard if not cleaned regularly. Regular upkeep not only preserves the aesthetic appeal but also extends the life of your toaster.
Early in your cleaning routine, you’ll want to focus on both the exterior stainless steel and the interior crumb tray. Understanding how to clean stainless steel toaster surfaces without scratching or damaging the finish is key. Using the wrong cleaners or abrasive tools can leave marks or dull the surface.
Essential Tools and Supplies for Cleaning
Before starting, gather a few simple household items:
– Soft microfiber cloths or non-abrasive sponges
– Mild dish soap
– White vinegar or a dedicated stainless steel cleaner
– Baking soda (for tougher stains)
– A small brush or toothbrush
– A clean towel for drying
Avoid steel wool or harsh scouring pads, which can scratch the stainless steel. Also steer clear of bleach or strong chemical cleaners that might damage the finish or seep inside the toaster.
Step-by-Step Guide to Cleaning the Exterior
1. Unplug and Cool Down
Safety first: always unplug your toaster and allow it to cool completely before cleaning. This prevents any risk of electric shock or burns.
2. Wipe Down Loose Debris
Use a dry microfiber cloth to remove dust, crumbs, and loose dirt from the toaster’s surface. Pay special attention to the slots and buttons where crumbs often hide.
3. Prepare a Mild Cleaning Solution
Mix a few drops of mild dish soap with warm water. Dip a soft cloth or sponge into the solution, wring out excess water, and gently wipe the stainless steel exterior. This removes grease and fingerprints without damaging the surface.
4. Target Stubborn Stains
For tougher spots or fingerprints, dampen a cloth with white vinegar and wipe in the direction of the stainless steel grain. Vinegar is a natural degreaser and helps restore shine. If stains persist, make a paste with baking soda and water, apply gently with a soft cloth, then rinse with a damp cloth.
5. Dry and Polish
After cleaning, dry the surface thoroughly with a soft towel to prevent water spots. For an extra shine, you can buff the stainless steel with a clean, dry microfiber cloth.
For more detailed advice on maintaining stainless steel appliances, the Philips appliance support page offers helpful tips tailored to their toaster models.
How to Clean the Interior and Crumb Tray
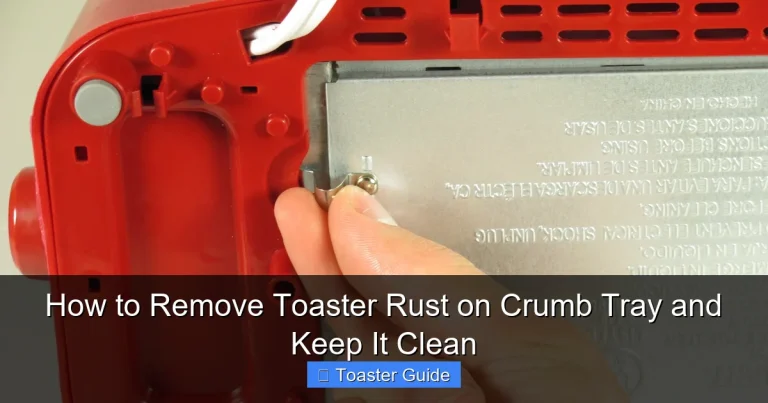
1. Remove and Empty the Crumb Tray
Most stainless steel toasters come with a removable crumb tray at the bottom. Slide it out carefully and dump the crumbs into the trash.
2. Wash the Crumb Tray
Wash the tray in warm, soapy water, rinse well, and dry completely before reinserting. This prevents mold and lingering odors.
3. Shake Out Loose Crumbs
Turn the toaster upside down over a trash bin and gently shake to dislodge any crumbs stuck inside. Use a small brush or a soft toothbrush to reach tight spots without damaging heating elements.
4. Avoid Water Inside the Toaster
Never submerge the toaster or allow water to seep into the internal components. If crumbs or residue remain, use a dry brush or compressed air to clear them.
To understand the proper maintenance procedures specific to your model, consult the Breville toaster user manual, which outlines safe practices for cleaning and upkeep.
Tips for Maintaining Your Toaster’s Appearance and Performance
– Clean after every few uses: Regular wiping prevents buildup and keeps your toaster looking fresh.
– Use gentle cleaning agents: Avoid harsh chemicals that might erode the stainless steel finish.
– Wipe fingerprints immediately: Stainless steel shows fingerprints easily, so quick cleaning helps maintain shine.
– Empty crumb trays weekly: This reduces fire risk and prevents unpleasant smells.
– Avoid abrasive tools: Soft cloths and sponges are best to protect the surface.
Following these habits will help your toaster stay in top shape without requiring deep cleans often.
Addressing Common Challenges: Removing Rust and Water Spots
Even stainless steel can develop rust spots or water stains if not cared for properly. Here’s how to tackle these issues safely:
– Rust spots: Apply a paste of baking soda and water to the rusted area, let it sit for 15 minutes, then gently scrub with a soft cloth. Rinse and dry thoroughly.
– Water spots: Wipe the affected area with a cloth dampened with white vinegar, then dry immediately. This breaks down mineral deposits that cause spots.
Avoid using metal brushes or steel wool to remove rust, as these can scratch the surface.
For further safety and cleaning recommendations related to kitchen appliances, the FDA food safety recommendations offer useful guidelines to keep your cooking environment hygienic and safe.
How to Clean Stainless Steel Toaster: Beyond the Basics
If you want to go the extra mile, consider polishing your toaster occasionally with a dedicated stainless steel cleaner designed to protect the surface from fingerprints and smudges. Be sure to choose products recommended by manufacturers or those with non-toxic ingredients.
Some toasters have special coatings or finishes, so always check the manufacturer’s instructions before applying any cleaner. The Cuisinart appliance support page is a reliable resource for model-specific care tips and troubleshooting.
Energy Efficiency and Maintenance
Keeping your toaster clean can also improve its energy efficiency. Crumbs and grease buildup can cause uneven heating, leading to longer toasting times and wasted energy. For those interested in reducing energy consumption, reviewing the Energy Star efficiency guidelines can provide insight into selecting and maintaining appliances for better performance.
FAQ: Quick Answers for First-Time Toaster Owners
Q1: How often should I clean my stainless steel toaster?
Aim to wipe down the exterior weekly and empty the crumb tray every one to two weeks, depending on usage.
Q2: Can I use stainless steel polish on my toaster?
Yes, but only use polishes specifically designed for kitchen appliances and follow the product instructions carefully.
Q3: What should I avoid when cleaning my toaster?
Avoid abrasive scrubbers, harsh chemicals, and submerging the toaster in water.
Q4: How do I clean the toaster slots safely?
Use a dry brush or compressed air to remove crumbs. Never insert metal objects or immerse the toaster.
Q5: What if my toaster has stubborn stains or discoloration?
Try a baking soda paste or vinegar wipe, but always test on a small area first.
Q6: Is it okay to use vinegar regularly on stainless steel?
Yes, vinegar is safe and effective when used sparingly and wiped off promptly.
Q7: Can cleaning improve toaster performance?
Absolutely. Removing crumbs and grease helps ensure even heating and reduces fire risks.
Maintaining your stainless steel toaster doesn’t have to be complicated. With these practical steps, you can keep your appliance looking great and working reliably for years to come. Regular care saves time, avoids costly repairs, and makes your kitchen a cleaner, more inviting space. Whether you’re prepping breakfast for the family or snapping a quick snack, a well-maintained toaster is a small but essential part of a happy kitchen routine.