How to Use KitchenAid Cold Brew Coffee Maker Easily

Use coarse coffee, add cold water, steep the brewer, then strain and chill the coffee. For the best taste, follow the manual, clean the parts well, and adjust the ratio to fit your preference.
If you want smooth cold brew at home, the KitchenAid Cold Brew Coffee Maker is simple to learn. The basic process is to add coarse coffee, pour in water, steep it in the fridge, then serve and store it cold.
- Simple method: Add coarse grounds, water, steep, then strain and serve cold.
- Best grind: Coarse grounds help prevent clogging and gritty coffee.
- Flavor control: Change the coffee ratio and dilution to fit your taste.
- Cleaning matters: Wash removable parts after each batch to keep flavor clean.
What the KitchenAid Cold Brew Coffee Maker Does and Who It’s For
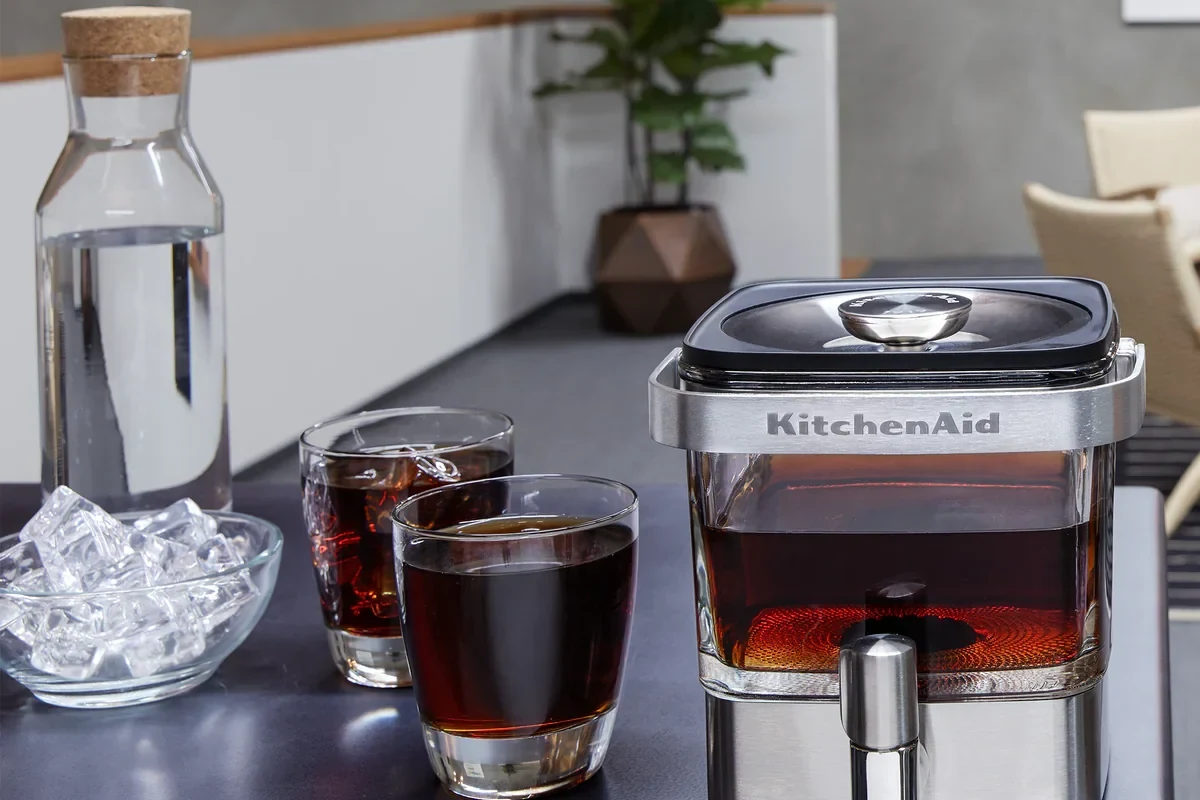
The KitchenAid Cold Brew Coffee Maker is made for steeping coffee grounds in cold water over time. That slow soak gives you a less sharp, less acidic drink than hot coffee.
It’s a good fit if you like make-ahead coffee and want a clean, easy way to keep concentrate in the fridge. It also works well for people who want a simple brewer with fewer moving parts than many electric coffee machines.
In short: this brewer is best for anyone who wants cold brew without much fuss.
A simple way to make cold brew at home
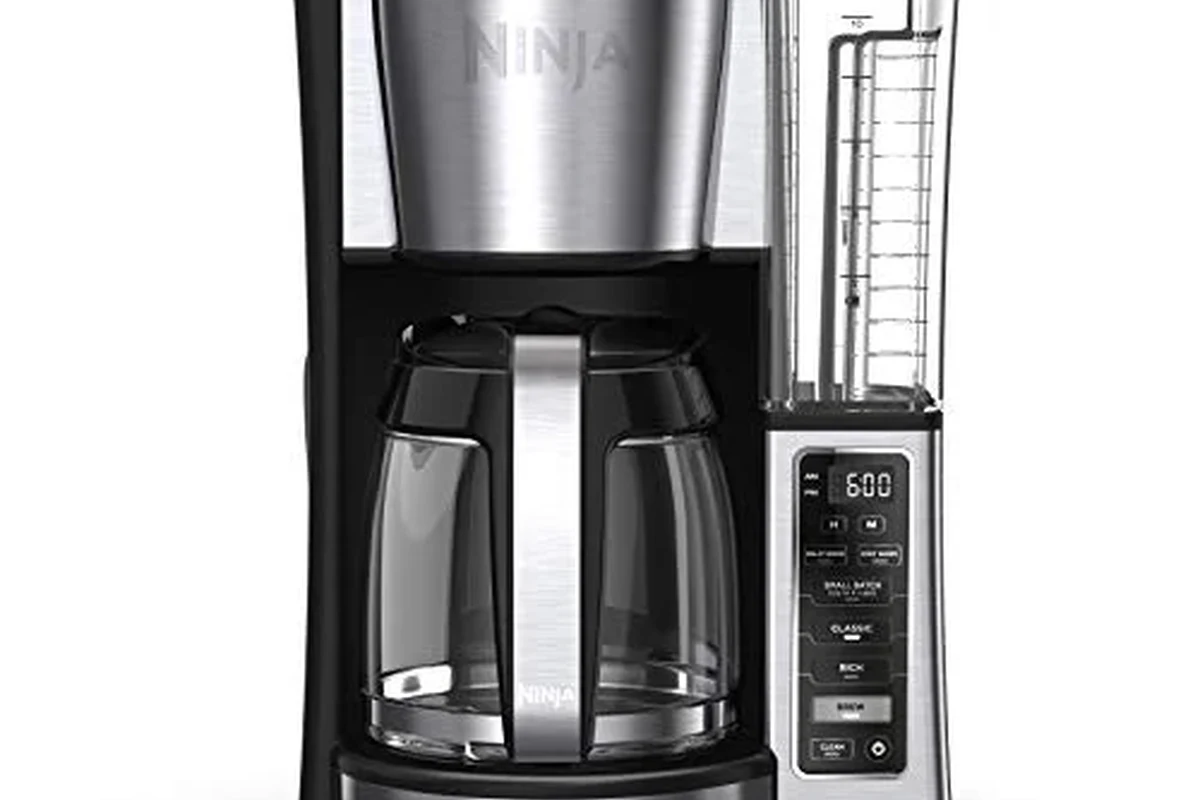
This guide walks you through setup, brewing, serving, cleaning, and a few common mistakes to avoid.
- Makes cold brew concentrate for easy morning drinks.
- Uses a simple steep-and-strain process.
- Stores well in the fridge for later use.
How to Use KitchenAid Cold Brew Coffee Maker Step by Step
The exact details can vary by model, so check your manual first. Still, the process is usually the same: fill, steep, strain, and chill.
What You Need Before You Start
Gather everything before brewing. That keeps the process neat and helps you avoid overfilling or spilling.
Coarsely ground coffee
Cold or room-temperature water
Measuring cup or scale
Spoon or spatula
Clean mug or storage jar
Use a scale if you can. It makes repeat batches much easier to match.
How to Assemble the Brewer
Start with a clean brewer. Make sure the filter, tank, and lid fit together the way the manual shows.
Place the filter in the brew container if your model uses one. Then set the brewer on a flat, stable fridge shelf or counter, depending on the design.
Follow the appliance manual and stop using damaged equipment.
In short: a stable setup helps prevent leaks and messy spills.
How to Add Coffee, Water, and Brew
Add the coffee first, then pour in the water slowly. This helps the grounds soak evenly.
Use a coarse grind. Fine grounds can clog the filter and make the brew cloudy or gritty.
After adding water, let the coffee steep for the time your manual suggests. Many cold brew methods need several hours in the fridge or at cool room temp.
Measure the grounds and place them in the brew basket or filter.
Add cold water slowly so the grounds soak evenly.
Cover the brewer and let it sit for the full brew time.
Remove the grounds and keep the coffee cold until serving.
How to Serve and Store the Cold Brew
Once the brew is ready, pour it over ice or mix it with cold water or milk. Cold brew concentrate often tastes strong on its own, so many people dilute it.
Store the finished coffee in a sealed container in the fridge. For best taste, use clean glass or food-safe plastic.
If the flavor seems too bold, add more water next time. If it tastes weak, use more coffee or a shorter dilution ratio.
Batch size, steep time, and dilution can vary by model and by how strong you like your coffee.
- Label your jar with the brew date.
- Stir gently if the grounds look dry on top.
- Use fresh water for the cleanest taste.
How the Cold Brew Process Works
Cold brew works by using time instead of heat. The water slowly pulls flavor from the coffee grounds over many hours.
That slow process brings out a smoother taste. It usually lowers the sharp bite that hot brewing can create.
Because the brew sits for a long time, the grind size matters a lot. Coarse grounds let water move through more evenly.
Cold brew is often served as a concentrate, which means you can mix it to taste.
In short: the long steep gives cold brew its smooth, mellow flavor.
Best Coffee Beans, Grind Size, and Water Ratio
Most cold brew makers work best with medium or dark roast beans, but you can use any roast you like. The roast choice changes the flavor more than the brewer does.
For grind size, choose coarse, like rough sea salt. That helps the water flow through the grounds without making the coffee muddy.
The water ratio depends on how strong you want the brew. A common home approach is to start with a concentrate-style mix, then dilute later.
Helps prevent clogging and keeps the brew cleaner.
Usually give a brighter, fuller flavor in the cup.
Make it easier to repeat the same taste next time.
The grind size and coffee-to-water ratio shape the final flavor more than anything else.
If your coffee tastes flat, try fresher beans or a slightly stronger ratio. If it tastes bitter or heavy, dilute more when serving.
Common Mistakes That Can Ruin Cold Brew
Cold brew is easy, but a few small mistakes can hurt the result. The good news is that most of them are easy to fix.
The brew tastes muddy or gritty.
Use a coarser grind and check that the filter is seated correctly.
The coffee tastes weak.
Add more coffee next time or reduce the amount of water.
The brew tastes harsh or too strong.
Shorten the steep time a bit or dilute the finished concentrate more.
- Measure coffee and water carefully.
- Keep the brewer clean between batches.
- Use the brew time your manual recommends.
- Do not use fine espresso-style grounds.
- Do not leave stale coffee sitting too long.
- Do not force parts that do not fit.
In short: most cold brew problems come from grind size, ratio, or poor cleaning.
Cleaning, Care, and Safe Use Tips
Clean the brewer after each batch. Coffee oils can build up fast and affect the next brew.
Wash removable parts with warm, soapy water if the manual allows it. Dry everything fully before storing it.
Empty the grounds, rinse the parts, and wash all food-contact pieces.
Check seals, lids, and filters for wear or buildup.
Do not soak electrical parts if your model has any powered base or controls. Follow the manual for safe cleaning.
Also watch for cracks, loose parts, or odd smells. If you see damage, stop using the brewer until you check the manual or contact the maker.
Cost, Value, and Final Buying Verdict
The KitchenAid Cold Brew Coffee Maker can make sense if you want a neat, reusable brewer for regular cold brew. Its value depends on how often you drink cold brew and how much you care about easy storage.
It is not the cheapest way to make coffee, but it may save time if you like batch prep. It also gives you more control than buying ready-made cold brew from a store.
Varies by model and recipe
Best for regular cold brew drinkers
If you want a simple, low-drama way to make cold brew at home, this KitchenAid brewer is a solid fit. It works best for people who value easy prep, fridge storage, and a smooth cup. If you want a tiny footprint or drink cold brew only once in a while, a simpler jar-and-filter method may be enough.
For most home users, the best choice is the one that matches your routine. If cold brew is part of your week, this brewer can feel very convenient. If not, keep it simple and use a basic method instead.
Frequently Asked Questions
Steep time can vary by model and recipe. Check the manual first, then adjust based on taste.
Use a coarse grind. Fine grounds can clog the filter and make the coffee muddy.
Start with a concentrate-style ratio and adjust after a batch or two. Stronger coffee needs more grounds or less water.
Wash removable parts as the manual allows and dry them fully. Do not soak any electrical parts if your model has them.
Weak coffee usually needs more grounds or less water. Bitter coffee may need a shorter steep time or more dilution.
Stop using it if you see cracks, leaks, loose parts, or damage. Follow the manual and contact the maker if you are unsure.