Electric Milk Frother Cleaning Tips for Easy Care

Clean an electric milk frother right after use with warm water and mild soap. Dry all parts fully and keep the electrical base away from water.
Clean an electric milk frother right after each use, and it will stay faster, fresher, and easier to use. The best electric milk frother cleaning tips are simple: rinse the parts that touch milk, wipe the base, and deep clean the stubborn spots before they harden.
- Rinse fast: Fresh milk is much easier to remove.
- Protect the base: Keep electrical parts dry at all times.
- Use gentle tools: Soft sponges and brushes help avoid damage.
- Dry fully: Moisture can cause smell, buildup, and wear.
Electric Milk Frother Cleaning Tips: The Fast Answer

The short answer is this. Rinse the whisk, jug, or lid right away, then wash any removable parts with warm water and mild soap.
Dry every part fully before storing it. That helps stop milk film, bad smells, and early wear.
Do the quick rinse while the milk is still fresh. Dried milk is much harder to remove.
How an Electric Milk Frother Works and Why Cleaning Matters
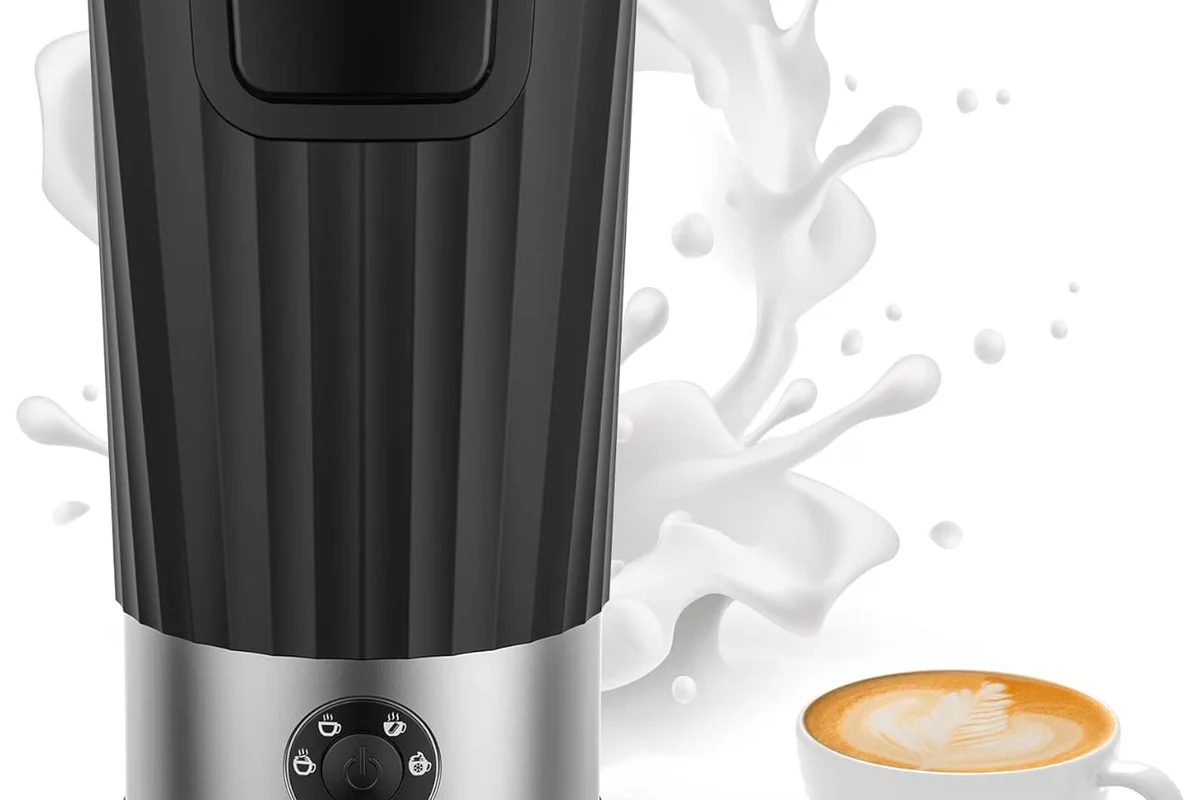
An electric milk frother uses a spinning whisk, heat, or both to make foam. Some models heat milk in a jug. Others use a small wand or a whisk on a base.
Milk leaves behind fat, protein, and sugar. Those bits cling to warm parts and dry fast. If you skip cleaning, foam quality can drop and the frother can start to smell off.
Regular care also helps the machine last longer. It keeps the whisk moving well and helps the heating parts stay cleaner.
Common Frother Types and Their Cleaning Needs
Different frothers need different care. Always check the manual first, because water-safe parts vary by model.
Clean the whisk head and avoid soaking the handle.
Wash the jug, lid, and whisk after each use.
Care for removable parts and keep the base dry.
Handheld models often need the least cleanup. Jug models need more care because milk touches more surfaces. Automatic models may have more parts, but they often make daily cleaning easier.
Daily Cleaning Steps for Fresh Milk and Foam
Daily cleaning does most of the work. If you keep up with it, deep cleaning takes less time later.
Quick Rinse Method After Each Use
Let the frother cool before you touch any hot part.
Take off the whisk, lid, or jug if the model allows it.
Rinse away milk right after use to stop buildup.
Use a soft sponge or cloth for safe, simple cleaning.
A quick rinse works best when the milk has not dried yet. For a handheld frother, a short spin in warm soapy water can help clean the whisk, if the manual says that is safe.
Some frother parts are dishwasher safe, but many are not. Check the manual before you put anything in a dishwasher.
Deep Clean for Stubborn Milk Leftovers
Sometimes milk dries in the whisk, around the rim, or under the lid. When that happens, use a deeper clean.
Soak removable parts in warm, soapy water for a few minutes. Then wipe them with a soft brush or sponge. Keep the scrub gentle so you do not bend the whisk or scratch the surface.
If the frother still smells milky, wash it again right away. A second short wash is safer than using strong chemicals.
Milk residue can build up faster when the frother heats the milk first. Warm surfaces help residue stick.
Safe Cleaning Methods for Different Frother Parts
The safest method depends on the part. Water can help with some pieces and damage others.
Whisks, Jugs, Lids, and Heating Bases
Mild dish soap
Soft sponge
Small brush
Clean towel
Whisks usually need the most attention. Clean around the coil, shaft, and any tiny joints where milk can hide.
Jugs and lids should be washed by hand unless the manual says they are dishwasher safe. Dry them well before reassembly.
Heating bases and power areas need special care. Wipe them with a damp cloth only. Never soak them or run water over them.
What to Avoid When Washing Electric Frothers
- Use mild soap and soft tools.
- Dry every removable part fully.
- Follow the manual for dishwasher-safe pieces.
- Do not soak the motor or base.
- Do not use steel wool or harsh scrub pads.
- Do not use bleach or strong cleaners unless approved.
Never submerge the electrical base or cord end in water. If a cord, plug, or switch looks damaged, stop using the frother.
Common Cleaning Mistakes That Can Damage Your Frother
Small mistakes can cause big problems over time. The most common one is waiting too long to clean.
Another mistake is using rough scrubbers. They can scratch nonstick or coated parts. Scratches can trap milk and make future cleaning harder.
People also forget to dry hidden spots. Water left in seams or under lids can lead to odor, rust, or weak foam.
One more issue is washing parts that should stay dry. If you are unsure, treat the part as delicate until the manual says otherwise.
The frother smells sour after washing.
Wash the removable parts again, then dry them fully in open air before storing.
The whisk spins less smoothly.
Check for dried milk around the whisk and clean it gently with a soft brush.
Maintenance Tips to Keep Performance Strong
Good maintenance is not fancy. It is mostly about cleaning, drying, and storing the frother the right way.
Descale, Dry, and Store the Right Way
Rinse, wash, and dry all milk-touching parts right away.
Check the whisk, lid, and seals for stuck milk or wear.
Look for mineral buildup if your model uses heating water or steam.
If your frother manual allows descaling, use the maker’s method and approved cleaner. This matters more in homes with hard water. However, not every frother needs the same treatment, so do not guess.
Store the frother with all parts dry and loosely assembled, if the manual allows that. Tight, damp storage can trap smells.
- Keep a soft brush near the sink for quick cleanup.
- Wipe the base after every spill, even tiny ones.
- Let parts air-dry before closing a lid or drawer.
Cleaning Product Choices, Cost, and Value
You do not need special cleaners for most frothers. In many homes, warm water, mild dish soap, and a soft cloth are enough.
That said, some models may need a maker-approved descaler or cleaning solution. If your frother has a nonstick finish or a sealed heater, check the manual before using anything stronger.
Value is not just about the cleaner itself. It is also about how much time you save and how well the frother keeps working. A simple, safe routine usually gives the best long-term value.
Usually a few minutes, depending on the model
More time if milk has dried or parts need soaking
If you are choosing a frother now, look for removable parts, simple shapes, and clear cleaning instructions. Those details matter more than flashy extras when cleanup is the main concern.
Final Recommendation for Easy Frother Care
The best electric milk frother cleaning tips are also the simplest ones. Rinse fast, wash gently, dry fully, and keep water away from electrical parts.
If you use a frother often, choose one with easy-to-remove parts and clear care rules. If your model has tricky seams or a hard-to-clean base, expect more upkeep.
In short, the easiest frother to care for is the one you can clean right after each use. That habit protects foam quality, reduces smells, and helps the appliance last longer.
- Clean milk-touching parts right after each use.
- Keep electrical bases dry at all times.
- Use mild soap and soft tools only.
- Check the manual for dishwasher and descaling guidance.
Frequently Asked Questions
Rinse the milk-touching parts right away, then wash them with warm water and mild soap. Dry every part fully before storing it.
Sometimes, but only if the manual says the parts are dishwasher safe. Many bases and electrical parts should never go in water.
Soak removable parts in warm, soapy water, then wipe them with a soft sponge or small brush. Avoid harsh scrub pads that can scratch the surface.
Milk residue may still be trapped in seams, whisk parts, or under the lid. Wash again and let every piece air-dry fully before storing.
Soaking the base, using rough scrubbers, and storing damp parts can all cause damage. If a cord, plug, or switch looks damaged, stop using the frother.
Deep clean when milk dries on the parts, foam quality drops, or odors appear. Some models may also need regular descaling if the manual recommends it.