Electric Milk Frother Maintenance Guide for Lasting Foam

Clean your electric milk frother after every use, and deep clean it when buildup starts to show. That simple routine helps protect foam quality, safety, and the life of the machine.
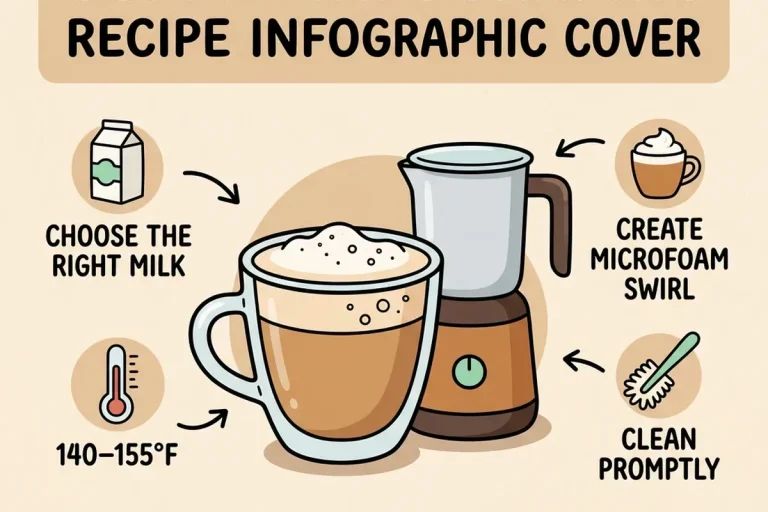
An electric milk frother works best when you clean it often and handle it gently. This maintenance guide shows how to keep foam light, cut down on buildup, and help your frother last longer.
- Clean fast: Milk residue gets harder to remove once it dries.
- Protect the base: Keep water away from electrical parts and cords.
- Use gentle tools: Soft cloths and mild soap work best.
- Watch for wear: Weak foam and noise can signal a dirty or worn whisk.
What Electric Milk Frother Maintenance Really Means

Maintenance is more than a quick rinse. It means removing milk film, drying parts well, and checking the whisk and base for wear.
In short: small care steps after each use can protect both foam quality and the motor.
How regular care keeps foam light and smooth
Milk leaves behind protein and fat. If that film stays on the frother, it can change how the whisk spins and how the milk moves.
Clean parts help the frother whip air into milk more evenly. That usually means smoother foam and fewer odd splashes.
In short: clean parts make better foam.
What parts need the most attention
The whisk needs the most care because it does the hard work. The jug, lid, and inside rim also collect dried milk fast.
The base matters too, especially if it has buttons, vents, or a power cord. Keep moisture away from those areas.
Care steps can vary by model. Always check the manual before washing any part.
How an Electric Milk Frother Works

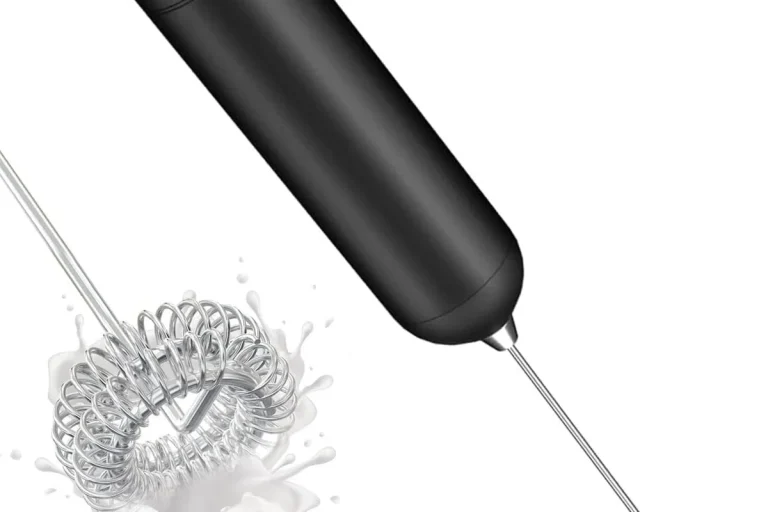
Most electric milk frothers use a small motor to spin a whisk or frothing disc. Some models also heat the milk while they froth it.
That simple setup is why buildup can cause trouble so fast. A clean frother usually works more smoothly than a neglected one.
Motor, whisk, and heat settings explained
The motor turns the whisk. The whisk pulls air into the milk and creates foam.
If your model heats milk, it uses a warm plate or built-in heat setting. That can help with drinks like lattes, but it also means more milk can dry on the sides.
In short: spinning and heat both need regular cleaning.
Why buildup changes foam quality
Milk residue can make the whisk drag. It can also leave the jug surface slick or sticky.
When that happens, the frother may make thin foam, loud noise, or uneven bubbles. You might also notice burned milk smell in heated models.
Milk proteins can cling to warm surfaces very quickly, which is why prompt cleaning matters.
Daily Cleaning Steps After Every Use
Daily care is the easiest way to keep a frother in good shape. It also takes less time than fixing heavy buildup later.
Try to clean the frother as soon as it cools a little. Dried milk is much harder to remove.
Rinse the jug, wipe the outside, and clean the whisk if the manual allows it.
Check for film, stains, or milk near seams and edges.
Quick rinse and wipe routine
Empty the frother right after use. Then rinse the jug with warm water if the manual allows water contact.
Wipe the outside with a soft, damp cloth. Dry it with a clean towel so water does not sit on the surface.
- Clean before milk dries hard.
- Use a soft cloth, not a rough pad.
- Dry the base before storing the frother.
How to clean the whisk, lid, and jug safely
Remove the whisk only if the manual says it is safe. Some whisks pop off for washing, while others should stay in place.
Wash the lid and jug with mild dish soap and warm water when allowed. Rinse well so soap does not affect the next batch of foam.
Do not submerge the base unless the manufacturer says it is safe. Water can damage the motor and controls.
Deep Cleaning Methods for Better Performance
Deep cleaning helps when milk film builds up or the frother starts to smell stale. It also helps after many uses with whole milk or sweet drinks.
Use gentle methods first. Harsh cleaners can scratch the jug or damage seals.
Removing milk film and mineral buildup
For milk film, soak the removable parts in warm soapy water if the manual allows it. Then wipe with a soft sponge.
If your water is hard, you may also see mineral spots. A mild descaling method may help, but only if the manual approves it.
In short: use gentle soaking first, then deal with mineral spots if needed.
Safe cleaning tools and solutions to use
Soft sponges, microfiber cloths, and a small brush often work well. A narrow brush can help reach around the whisk area.
Use mild dish soap for most cleaning jobs. For buildup, follow the manual before using vinegar, citric acid, or descaler products.
Common Mistakes That Shorten Frother Life
Most frother problems start with simple habits. The good news is that many of them are easy to avoid.
Overfilling, harsh scrubbing, and wrong liquids
Overfilling can push milk into places it should not go. It can also make foam spill over and leave a bigger mess.
Hard scrub pads can scratch coated surfaces. Thick syrups or non-dairy drinks can also leave more residue, depending on the recipe.
- Fill only to the marked line.
- Use soft cleaning tools.
- Check the manual for milk types.
- Scrubbing with steel wool.
- Using unapproved liquids.
- Forcing the lid or whisk parts.
Ignoring moisture around the base
Moisture around the base can lead to trouble over time. It can also make buttons sticky or leave the unit smelling damp.
Always dry the bottom and the counter area before you store the frother. If water gets near the cord or plug, stop and let everything dry fully first.
Safety Tips and Care Rules You Should Follow
Electric frothers are simple, but they still need careful handling. Heat, steam, and electricity do not mix well with sloppy cleaning.
Follow the appliance manual and stop using damaged equipment.
Unplugging, drying, and handling hot parts
Unplug the frother before you clean it. Let hot parts cool before you touch them.
Dry every washable part fully before reassembly. That helps reduce slips, spills, and moisture near electrical parts.
What to avoid with electric models
Do not open the motor housing. Do not bypass safety locks or switches.
Also avoid using a frother with a cracked jug, frayed cord, or loose base. If you see damage, stop using it and check the warranty or support page.
- Capacity and dimensions
- Controls, cleaning, warranty, and safety
Troubleshooting Weak Foam, Noise, and Wear
If your frother stops making good foam, cleaning is the first thing to check. Weak foam often points to residue, worn parts, or the wrong milk amount.
Signs the frother needs cleaning or repair
Watch for thin foam, odd smells, louder noise, or milk left unspun at the bottom. Sticking buttons or slow whisk movement also matter.
If cleaning does not help, the issue may be wear or a part that no longer fits well.
Foam looks weak or uneven.
Clean the whisk, check the fill line, and confirm the milk type matches the manual.
When to replace the whisk or other parts
Replace the whisk if it looks bent, loose, or worn down. A damaged whisk can make the frother noisy and less effective.
Some models sell replacement lids, whisks, or jugs. Check the maker’s parts list so you get the right match for your model.
How to Get Better Value From Your Frother Over Time
Good maintenance protects both foam quality and your budget. A clean frother usually lasts longer and gives more even results.
That does not mean every model lasts the same amount of time. Build quality, use frequency, and cleaning habits all play a part.
Maintenance habits that protect performance and cost
Use the frother within its fill limits. Clean it right away. Dry it before storage.
Those simple habits can reduce wear and help you avoid early replacement. They also make each cup of coffee less frustrating.
Final recommendation for keeping foam consistent
If you want lasting foam, focus on three things. Clean after every use, deep clean when buildup appears, and follow the manual for safe care.
That is the most reliable way to keep an electric milk frother working well. If the unit shows damage or still performs badly after cleaning, it is time to repair, replace, or contact support.
- Clean milk residue before it dries.
- Keep water away from the base.
- Use gentle tools and approved cleaners.
- Replace worn parts when foam quality drops.
Frequently Asked Questions
Clean it after every use if the manual allows. A quick rinse and wipe help stop milk film from building up.
Usually no, unless the manufacturer says the base is washable. Keep water away from the motor, cord, and controls.
Weak foam often comes from residue, overfilling, or a worn whisk. Clean the parts, check the fill line, and confirm the milk type is right for the model.
Use mild dish soap and soft tools first. For mineral buildup, follow the manual before using vinegar, citric acid, or a descaler.
Replace the whisk or other parts if they are bent, loose, cracked, or still perform poorly after cleaning. Check the model’s parts list for the correct replacement.
Stop using it if you see a cracked jug, frayed cord, loose base, or burning smell. Check the manual, warranty, or support page before using it again.