How Does Electric Milk Frother Work for Perfect Foam
An electric milk frother adds air to milk and often warms it too. That creates the foam you want for lattes, cappuccinos, and other coffee drinks.
An electric milk frother works by adding air to milk while often warming it at the same time. That mix of air, heat, and motion turns plain milk into foam for lattes, cappuccinos, and hot chocolate.
- How it works: A whisk or disk mixes air into milk while heat may warm it.
- Best texture: Milk type, temperature, and fill level shape the foam.
- Easy use: Follow the fill line and choose the right setting.
- Cleaning matters: Fresh milk residue can affect taste and performance.
How an Electric Milk Frother Makes Foam
If you want café-style foam at home, it helps to know what the machine is doing inside the jug.
How Does Electric Milk Frother Work? The Simple Answer
The short answer is this. An electric milk frother spins, whisks, or stirs milk fast enough to trap tiny air bubbles inside it.
Some models also heat the milk. That heat changes the milk proteins and helps the foam hold its shape longer.
What an electric milk frother does to milk
Milk starts as a liquid with fat, protein, water, and sugar. When the frother moves the milk fast, it pulls air into that mix.
The proteins wrap around the air bubbles. That gives you foam instead of plain milk.
Milk proteins do most of the foam work. Fat affects taste and texture, but protein helps hold the bubbles.
Why heat and air matter for foam
Air makes foam. Heat helps the foam feel smoother and more stable.
Too little heat can leave the foam thin and loose. Too much heat can make the milk taste flat or burnt.
What makes foam thick, light, or silky
Foam depends on milk type, temperature, and how much air gets mixed in. Fast whipping often makes thicker foam.
Gentler frothing can make a finer, silkier texture. That is why one machine may suit cappuccinos, while another works better for lattes.
Results vary by model and milk type. Follow the manual for fill lines, settings, and safe use.
Inside the Machine: Main Parts and How They Work Together
Most electric frothers use a simple system. A motor moves a whisk or disk, and many models add a heater under the jug.
The parts work together to create motion, air, and warmth. That is the whole trick.
Heating element and temperature control
The heating element warms the milk from below or around the jug. A thermostat or sensor helps keep the milk from getting too hot.
Better temperature control usually means better foam and better taste. It also lowers the chance of scalding the milk.
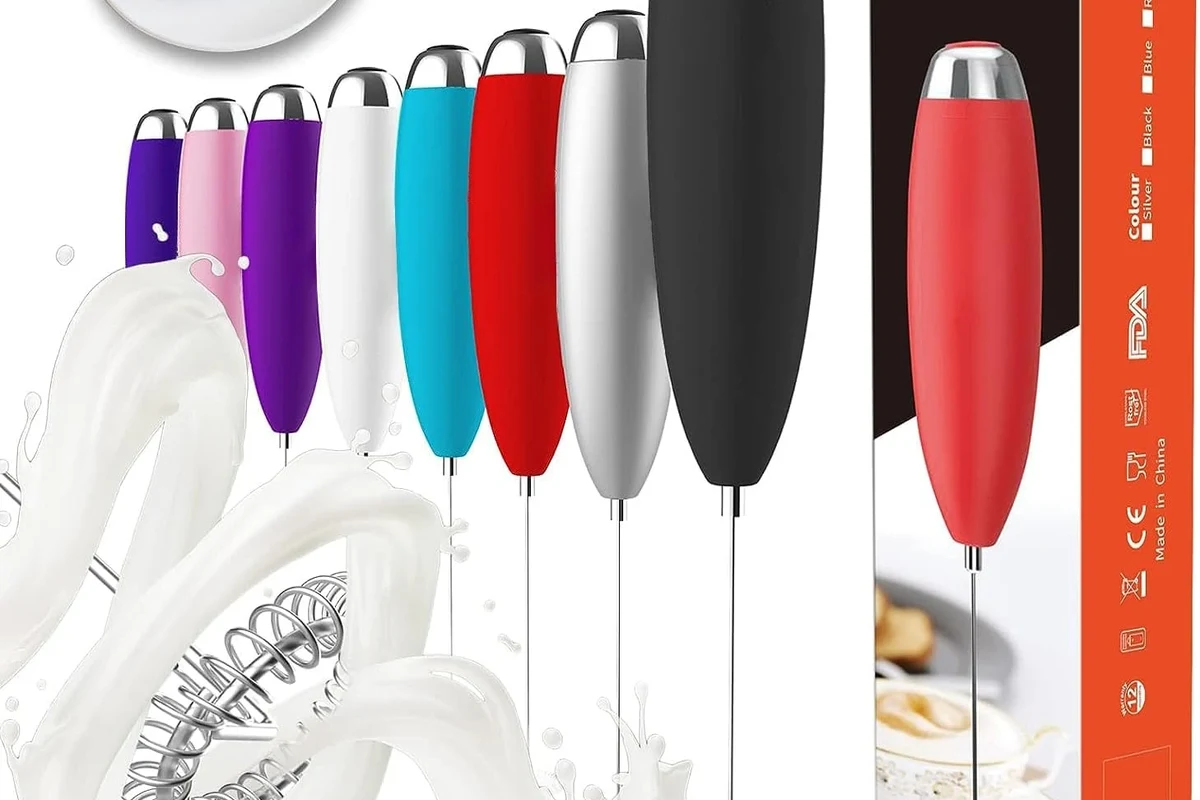
Whisk, coil, or spinning disk
Different frothers use different tools. Some use a small whisk. Others use a coil or a spinning disk.
The moving part is what pulls air into the milk. The shape of that part helps decide how fine or fluffy the foam gets.
Often makes quick foam for everyday drinks.
Can create smoother foam with less effort.
Jug shape, lid, and foam results
The jug shape matters more than many people expect. A wider top can let foam expand more easily.
A tight lid helps reduce splatter. It also keeps the milk warmer for a bit longer.
How to Use an Electric Milk Frother for Better Foam
Good foam starts with simple habits. Use the right milk, stop at the fill line, and watch the heat.
Those small steps make a bigger difference than most people think.
Best milk types for foam
Whole milk usually gives rich foam with a creamy feel. It is a common choice for lattes and cappuccinos.
Low-fat milk can make lighter foam. Many plant milks also froth well, but results vary a lot by brand.
- Choose barista-style plant milk for steadier foam.
- Shake carton milk before pouring if the label allows it.
- Cold milk often froths better than warm milk at the start.
Step-by-step frothing process
Fill only to the mark. Milk expands as it froths.
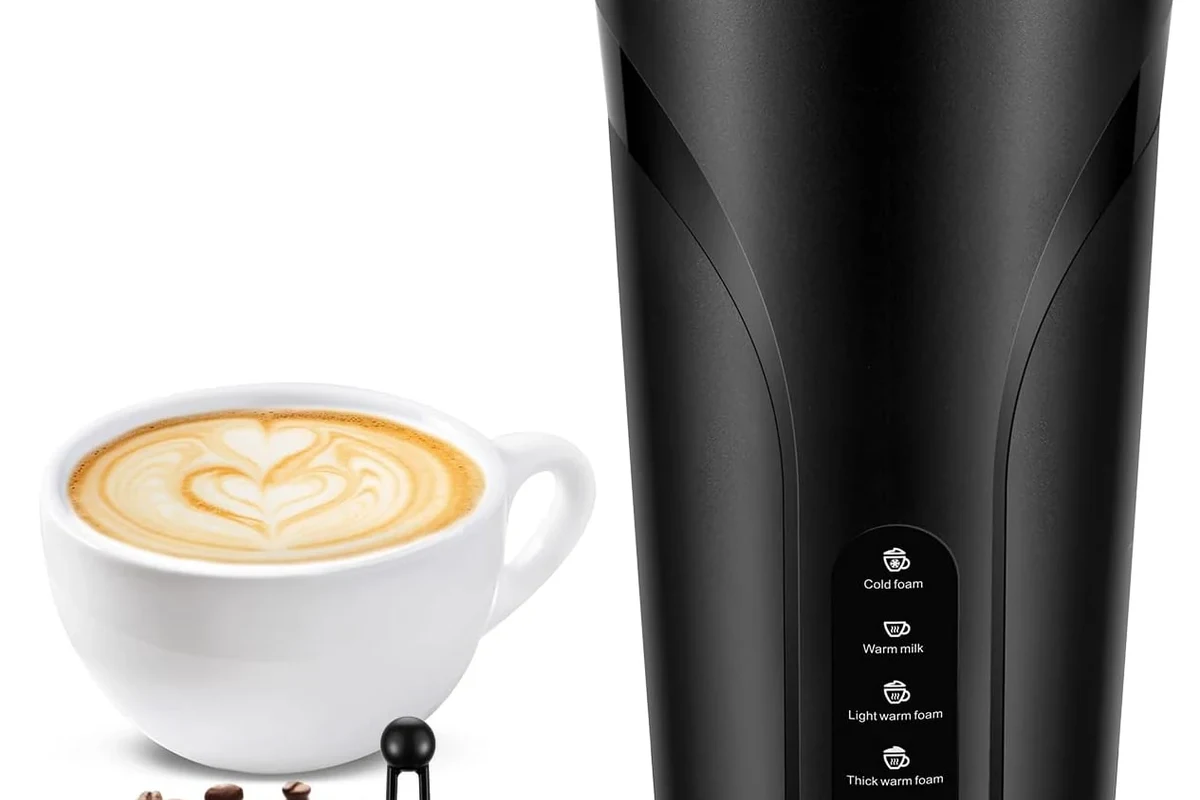
Pick hot foam, cold foam, or warm milk if your model offers them.
Let the machine run without lifting the lid or shaking the jug.
Use the foam soon after frothing for the best texture.
How much milk to add
Use the fill line if the frother has one. That is the safest guide.
If you add too much milk, the foam may spill over. If you add too little, the whisk may not move the milk well.
How long to froth for hot or cold drinks
Time varies by model. Many frothers finish in a few minutes, but you should follow the manual.
For hot drinks, stop when the milk feels warm and the foam looks smooth. For cold foam, stop when the texture looks thick and even.
Do not overfill the jug. Hot milk can expand fast and spill, which can cause burns or a mess.
Electric Milk Frother Benefits and Limits
Electric frothers save time and cut down on guesswork. They also help beginners get more even foam.
Still, they are not magic. The result depends on milk, machine design, and your drink style.
Why home foam can taste like café foam
Home foam can taste close to café foam because the machine does the hard part. It adds air in a controlled way.
That means less arm work and fewer weak bubbles. For many people, that is enough to make morning coffee feel special.
When a frother beats manual frothing
An electric frother wins when you want speed and repeatable results. It is also handy when you make drinks every day.
If you do not want to use a whisk, jar, or pump by hand, electric is the easier path.
- Fast and easy to use
- More even foam for beginners
- Good for daily coffee routines
- Needs cleaning after each use
- Not every model handles all milks well
- Takes up counter or cabinet space
Where electric frothers fall short
Some models make foam that is too airy for latte art. Others only heat and froth in a limited way.
They also have capacity limits. If you want several drinks at once, you may need to work in batches.
Common Mistakes That Ruin Milk Foam
Most bad foam comes from a few easy mistakes. The good news is that they are simple to fix.
Using the wrong milk or too much milk
Very thin milk may make weak foam. Some plant milks also split or stay flat in certain frothers.
Too much milk can crowd the jug. That leaves less room for air and expansion.
Overheating the milk
Milk that gets too hot can taste cooked. It can also lose the smooth feel you want.
If your frother keeps heating after the foam looks ready, stop the cycle when the manual allows it.
Skipping cleaning between uses
Old milk dries fast. That residue can change taste and block the whisk or lid.
Even a small film can affect the next batch. Cleaning right away saves time later.
Expecting every frother to make the same foam
Different machines make different foam styles. Some make airy foam. Others make dense, glossy foam.
That is normal. The best frother is the one that matches your drinks and habits.
The foam looks thin or watery.
Use fresher milk, stay below the fill line, and check the frothing setting.
Safety, Cleaning, and Maintenance Tips
Electric frothers are simple, but they still use heat and moving parts. Safe habits matter every time you use one.
Basic safety rules for daily use
Set the frother on a flat surface. Keep cords clear of water, sinks, and hot burners.
Never touch the jug or whisk right after heating. The metal or coating may stay hot.
Follow the appliance manual and stop using damaged equipment.
How to clean the frother fast
Clean the jug soon after use. Warm water and a soft sponge often work well for fresh milk residue.
If the whisk removes easily, rinse it as directed by the manual. Dry all parts before the next use.
Rinse the jug, lid, and whisk right away.
Check for milk buildup around the base and seals.
Inspect the cord, coating, and moving parts for wear.
What to avoid to protect the motor and coating
Do not scrub with steel wool or sharp tools unless the manual says it is safe. That can damage the surface.
Also avoid soaking the base if the manual says not to. Water and electricity do not mix well.
What to Look for When Buying an Electric Milk Frother
If you are shopping in 2026, focus on the features that affect daily use. Capacity, cleanup, and control matter most.
Fancy extras are nice, but they should not hide weak build quality or hard cleanup.
Capacity, power, and foam settings
Check how much milk the frother can hold. That matters if you make one drink or several.
Look for useful settings like hot foam, cold foam, and warm milk. More control usually means more drink options.
Material quality and easy cleanup
A smooth, sturdy jug is easier to clean. Removable parts can help too.
Nonstick coatings may help with cleanup, but they need gentle care. Always follow the maker’s cleaning advice.
- Capacity and footprint
- Heat and froth settings
- Easy cleaning and removable parts
- Warranty and safety guidance
Noise, speed, and counter space
Some frothers are quiet. Others make a clear motor sound while they work.
Think about where you will store it. A smaller unit may fit better in a tight kitchen.
Value for money in 2026
Value is not just about the sticker price. It is about how often you will use the frother and how easy it is to keep clean.
A simple model can be a smarter buy than a feature-heavy one if you only want foam for one or two drinks.
Final Recommendation: Who Should Buy One and Why
An electric milk frother is a smart pick if you want easy foam at home. It is especially useful for coffee lovers who want quick, repeatable results.
It is also a strong choice for small kitchens and beginners. You do not need barista skills to get decent foam.
Best choice for coffee lovers at home
Choose an electric frother if you make lattes, cappuccinos, or hot chocolate often. It saves time and gives more consistent results than manual frothing.
Best choice for small kitchens and beginners
Choose a compact model if you want simple controls and easy storage. That keeps the learning curve low and the mess small.
When you may want a different frothing method
If you want full control over texture, a steam wand or manual frother may suit you better. Those methods can also work well for larger drink setups.
For most home users, though, an electric milk frother offers the best mix of speed, ease, and good foam.
An electric milk frother works by whipping air into milk and often warming it at the same time. It is the easiest way for most people to make café-style foam at home, as long as you choose the right milk and follow the fill line and cleaning steps.
- Air, heat, and whisk motion create the foam.
- Milk type and fill level change the final texture.
- Fast cleaning keeps taste and performance on track.
- Compact models suit small kitchens best.
Frequently Asked Questions
It whips air into milk with a whisk, coil, or spinning disk. Many models also heat the milk for smoother foam.
Whole milk often makes rich, creamy foam. Barista-style plant milks can also work well, but results vary by brand.
Use the fill line if your model has one. Milk expands as it froths, so overfilling can cause spills.
Thin foam can come from the wrong milk, too much milk, or the wrong setting. Cleaning residue and overheating can also hurt texture.
Rinse the jug and whisk soon after use with warm water and a soft sponge. Always follow the manual for removable parts and base care.
Check capacity, foam settings, cleanup, safety guidance, and counter space. Warranty and build quality also matter for long-term value.