Electric Milk Frother Beginner Guide for Perfect Foam

An electric milk frother is an easy way to make café-style foam at home. Start with the right milk, don’t overfill, and clean it right away.
An electric milk frother makes it easy to turn plain milk into light foam for coffee drinks at home. If you want better lattes, cappuccinos, or hot chocolate without much effort, this electric milk frother beginner guide will help you pick the right one and use it well.
- Best milk matters: Whole milk and barista-style plant milks usually foam best.
- Size matters: Match the frother capacity to your usual cup size.
- Clean fast: Fresh cleanup helps foam quality and reduces smell.
- Safety first: Follow the manual and stop using damaged equipment.
What an Electric Milk Frother Does and Why Beginners Use It
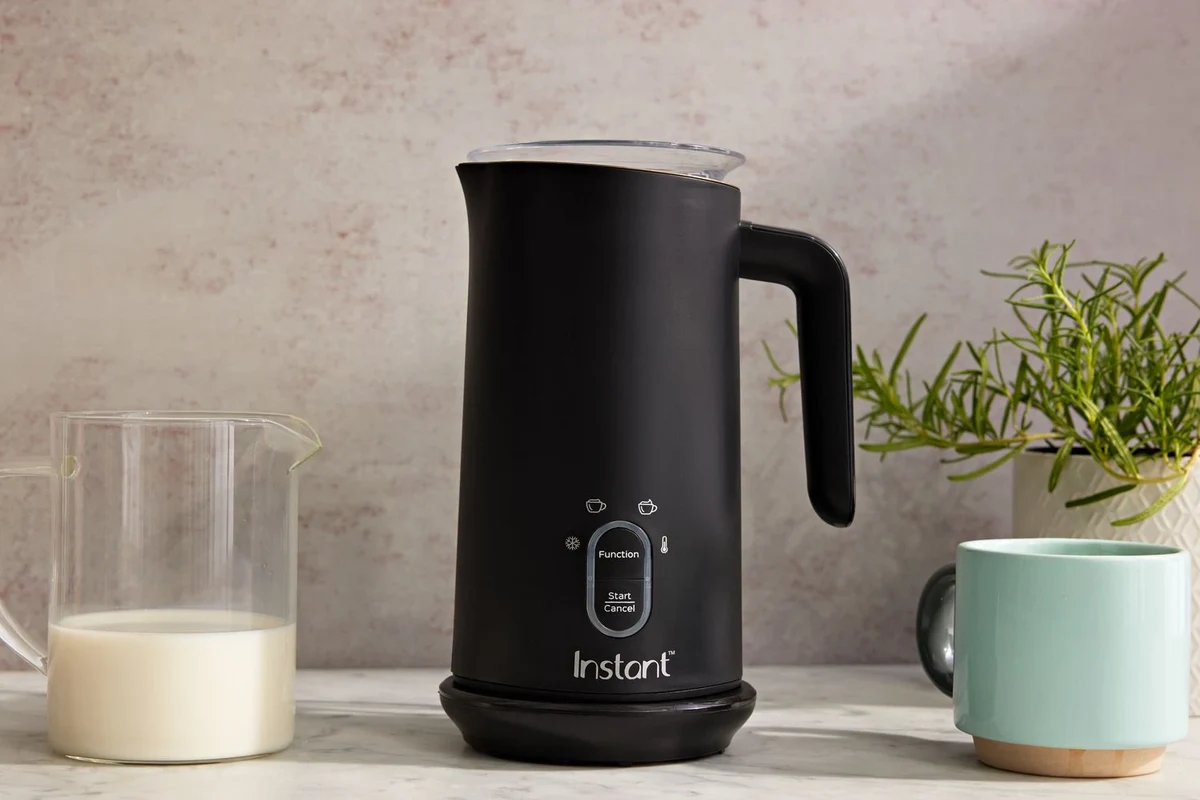
An electric milk frother adds air to milk and, in many models, warms it too. That creates foam with a soft, creamy feel.
For beginners, the big win is simple. You get café-style drinks without learning barista skills.
It also saves time. Instead of whisking by hand, the machine does the work for you.
How it turns milk into foam
The frother spins a whisk, coil, or small motorized head through the milk. That motion pulls air into the liquid.
The milk proteins help trap that air. The result is foam that sits on top of drinks or blends into them.
Some frothers make a thick foam. Others make a lighter, silkier texture. The result depends on the model and the milk you use.
What drinks it works best for
Electric frothers work best for drinks that need a creamy top or a smooth milk layer.
Common uses include:
- Lattes with a light foam cap
- Cappuccinos with thicker foam
- Iced coffee with cold foam
- Hot chocolate with a softer texture
- Matcha drinks with milk foam
They can also help with plain warm milk. That makes them useful beyond coffee.
Who should use one and who may not need one
Beginners, busy home coffee drinkers, and small households often get the most value from one.
If you make milk drinks a few times a week, a frother can feel like a small upgrade that pays off fast.
However, you may not need one if you mostly drink black coffee. You may also skip it if you already own an espresso machine with a steam wand.
Froth quality changes with milk type, fat level, and sugar content. Results can vary by model and by recipe.
How to Choose the Right Electric Milk Frother
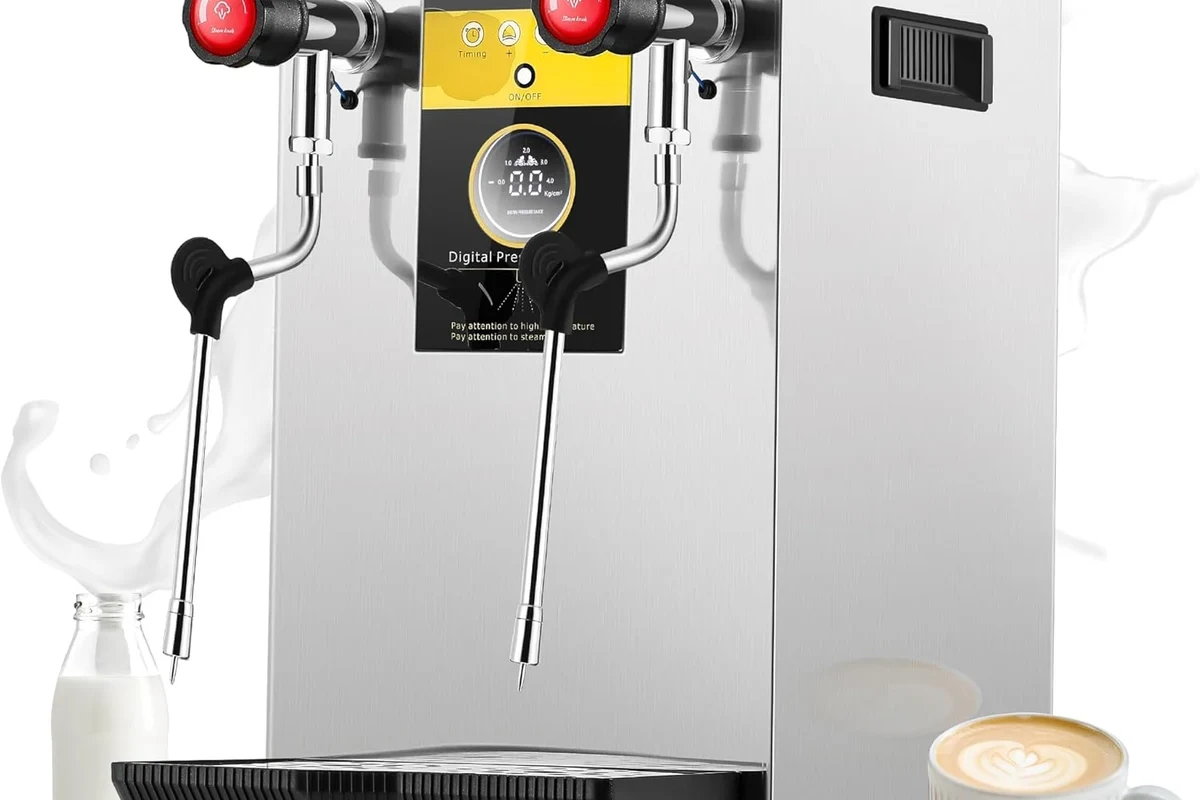
The best frother for a beginner depends on how you drink coffee, how much space you have, and how much control you want.
It helps to think about use first, then features.
Handheld vs. jug style
Handheld frothers are small and simple. You place the whisk in a cup or mug and move it by hand.
Jug-style frothers sit on the counter and do more on their own. Many can heat and froth in one step.
Best for low cost, fast foam, and easy storage.
Best for hands-free use and more drink options.
Handheld models suit light use and tight kitchens. Jug models fit people who want more ease and less guesswork.
Power, speed, and foam control
More power does not always mean better foam. What matters most is steady mixing and good control.
Look for a frother with clear speed settings if you want more say over foam texture. That helps with both thick and thin foam.
Simple one-button models are easier for beginners. They also reduce the chance of overworking the milk.
Milk capacity and cup size
Capacity matters more than many new buyers expect. A frother that works well for one mug may not suit two drinks.
Check the max fill line before buying. Overfilling can cause spills and weak foam.
Heat settings and cold foam options
Some frothers heat milk. Others only froth it. A few do both hot and cold foam.
If you drink iced coffee or cold foam drinks, that extra setting can be very useful.
Heat control also matters for taste. Milk that gets too hot can taste flat or scalded.
Price, value, and build quality
Value matters more than a low sticker price. A cheap frother that breaks fast costs more in the long run.
Look for sturdy parts, a stable base, and a design that is easy to clean. A simple build often lasts longer.
Before buying, check the manual, warranty terms, and any care notes from the maker.
- Capacity and footprint
- Hot and cold options
- Cleaning method
- Warranty and safety notes
Step-by-Step Electric Milk Frother Beginner Guide
Using a frother is usually simple. Still, a few small habits make a big difference in the final foam.
Best milk types for strong foam
Whole milk often makes rich foam with a creamy feel. It has enough fat and protein to hold air well.
Low-fat milk can make a lighter foam. Some non-dairy milks also foam well, but results vary a lot by brand.
For plant milks, look for versions made for baristas when you can. They often mix better and hold foam longer.
Milk foam works best when proteins trap tiny air bubbles. That is why milk choice matters so much.
How much milk to add
Always stay below the max fill line. Foam expands, and extra room helps prevent spills.
For a single drink, a small amount is often enough. Start with less milk than you think you need.
If you want a larger drink, froth in batches instead of overfilling the jug.
Simple frothing steps for hot and cold drinks
Use cold milk for cold foam or fresh milk for hot drinks.
Select heat, cold froth, or simple froth if your model offers it.
Let the frother finish its full cycle unless the manual says otherwise.
Use the foam soon after frothing for the best texture.
For hot drinks, warm the milk only as much as the machine allows. For cold foam, keep the milk chilled before frothing.
How to get smooth foam every time
Start with clean equipment and fresh milk. Old residue can hurt foam and add off smells.
Do not shake the frother while it runs unless the manual tells you to. Let the machine do the mixing.
If the foam looks too airy, use less time or a different milk. If it looks thin, try a milk with more protein.
- Use cold milk for cold foam drinks.
- Wipe the jug soon after pouring.
- Test one cup before making a full batch.
Common Mistakes Beginners Make
Most frother problems come from a few easy-to-fix habits. The good news is that they are simple to avoid.
Using the wrong milk
Not every milk foams the same way. Some low-protein or heavily sweetened options make weak foam.
If your foam keeps falling flat, switch milk before blaming the machine.
Overfilling the frother
Too much milk leaves no room for air. That leads to spillovers and thin foam.
Always follow the fill marks on your model. Those marks are there for a reason.
Frothing too long or too short
Short cycles may leave milk warm but not foamy. Long cycles can make foam dry or uneven.
Use the cycle the maker suggests. Then adjust only after you see the result.
Skipping temperature checks
Milk that gets too hot can taste dull. It can also raise burn risk when you pour it.
Touch the outside of the jug with care, and follow the manual for safe handling.
Hot milk can burn fast. Always check the manual for safe temperatures and handle the jug with care.
Safety Tips and Basic Maintenance
A frother is a simple appliance, but it still needs careful use. Small habits help it last longer and keep your kitchen safer.
How to avoid burns and spills
Keep the frother on a level surface. That lowers the chance of tipping or splashing.
Do not move a jug while it is heating unless the manual says it is safe.
Let the foam settle for a moment before pouring if the model tends to splash.
Follow the appliance manual and stop using damaged equipment.
Cleaning after each use
Clean the frother soon after use. Milk residue gets harder to remove once it dries.
Rinse or wipe parts that the manual says are washable.
Check for milk film, smell, or buildup around the whisk area.
Inspect seals, whisk parts, and any removable pieces for wear.
What parts need extra care
Pay close attention to the whisk, lid, gasket, and any removable jug parts. These areas collect milk residue fast.
Electrical bases should stay dry. Never soak the base unless the manual clearly allows it.
When to replace worn parts
Replace parts that crack, warp, or stop fitting well. Worn pieces can affect foam and safety.
If the whisk no longer spins well, or the lid no longer seals, it may be time for a replacement part or a new unit.
Cleaning and Troubleshooting for Better Results
When a frother starts acting up, the cause is often simple. A little cleanup or a small change in milk can solve it.
Why foam turns thin or weak
Weak foam often comes from low-protein milk, overfilling, or a cycle that ends too soon.
The foam looks thin and disappears fast.
Use a different milk, fill less, and let the full cycle finish.
Sometimes the issue is simple temperature. Milk that starts too warm may not foam as well.
How to fix milk residue and smell
Milk smell usually means residue is still inside the machine or on removable parts.
Wash the parts the manual says are safe to clean. Dry them fully before storing the frother.
If a smell keeps coming back, check hidden corners, seals, and the whisk area.
What to do if the frother stops working
First, check the power source, plug, and any removable parts. Make sure everything is seated the right way.
If the unit still does not run, stop using it and review the manual. Do not open internal electrical parts.
Look for warranty support or replacement guidance from the maker if the appliance is still covered.
Do not try to repair wiring, heating parts, or sealed electrical parts at home.
Best Uses, Limits, and Value for the Money
An electric frother can be a smart buy, but it is not the right tool for every kitchen.
Best drinks for daily use
It shines with lattes, cappuccinos, mocha drinks, iced coffee, and warm milk drinks.
If you like a little foam on top of your morning coffee, it feels like an easy luxury.
It also works well for hot cocoa, matcha, and some dessert drinks.
Where electric frothers fall short
They do not replace a full espresso setup. They also cannot match the steam wand control of a skilled barista.
Some models struggle with very large batches or certain plant milks.
Cleanup can also be a downside if you make foam many times a day.
When a beginner should upgrade
Upgrade when you want more control, larger capacity, or better heat control.
If you start making several milk drinks each day, a more durable jug model may be worth it.
That said, many beginners do best with a simple model first. It teaches the basics without extra fuss.
- Choose the frother style that fits your space and drink habits.
- Use the right milk and stay below the fill line.
- Clean it right away to protect foam quality and smell.
- Stop using damaged units and follow the manual for safety.
Final Recommendation for First-Time Buyers
For most beginners, a simple jug-style frother with hot and cold options is the best all-around pick. It gives you room to learn and covers the widest range of drinks.
Best choice for most beginners
Choose a model with easy controls, clear fill marks, and removable parts that clean easily. That mix keeps the learning curve low.
Best choice for small budgets
A handheld frother is the best low-cost start. It stores easily and works well for single cups.
Best choice for coffee lovers who want more control
Pick a jug-style frother with more than one setting. You will get better control over foam texture and drink style.
If you want the easiest path to better home coffee, start with a simple electric frother that matches your cup size and drink habits. Handheld models suit light use and tight budgets, while jug-style frothers give beginners the most flexibility and the easiest results.
Frequently Asked Questions
Whole milk often makes rich, creamy foam. Some barista-style plant milks also work well, but results vary by brand.
Handheld frothers suit small budgets and single cups. Jug-style frothers are better if you want hands-free use and more control.
Stay below the max fill line and leave room for foam to expand. Overfilling can cause spills and weak results.
Weak foam often comes from the wrong milk, too much milk in the jug, or a cycle that ends too soon. Try a different milk and follow the full cycle.
Clean it right after use, following the manual for which parts are washable. Keep the base dry and dry all parts before storage.
Stop using it if it has damage, strange smells, repeated failures, or loose parts. Check the manual and contact the maker for support or replacement guidance.