How to Get Thick Foam with Electric Milk Frother Fast
Use cold milk, stay within the fill line, and stop frothing when the foam looks glossy and stable. Whole milk usually gives the thickest foam, but clean parts and good timing matter just as much.
If you want thick foam fast, start with cold milk, use the right fill level, and stop frothing as soon as the foam looks glossy and stable. The best results usually come from milk with enough protein, a clean frother, and a jug that is not too full.
- Cold milk helps: It gives the frother more time to build dense foam.
- Whole milk often works best: It usually makes richer, more stable foam.
- Fill level matters: Too much or too little milk can weaken results.
- Stop at glossy peaks: Overfrothing can make foam thin or bubbly.
- Clean parts improve foam: Residue can hurt taste and whisk movement.
What Thick Foam Means and Why It Matters
Thick foam is dense, creamy, and stable. It sits on top of coffee instead of disappearing fast.
Light froth looks airy and bubbly. It can taste nice, but it often breaks down sooner.
How thick foam differs from light froth
Thick foam has smaller bubbles. That gives it a smoother feel and a fuller look.
Light froth has larger bubbles and more air. It feels looser and works better in drinks that need less body.
Why texture changes taste and drink quality
Texture changes how sweet, rich, and balanced a drink feels. Thick foam can soften strong espresso and make drinks feel more like a café treat.
It also changes the sip. A dense top layer holds shape longer and mixes more slowly into the drink.
Milk foam depends on both air and protein. Protein helps trap bubbles and keep them in place.
How to Get Thick Foam with Electric Milk Frother Fast
The fastest method is simple. Use cold milk, fill the frother only to the marked line, and choose the foam setting if your model has one.
Then let the frother run until the foam looks thick and shiny. Do not keep going just because the milk still looks active.
The quick method for rich, stable foam
Cold milk gives you more time to build foam before it overheats.
Stay below the max mark so the foam has room to expand.
Pick froth mode or hot foam mode, based on your drink and model.
When the foam looks thick and smooth, pour it right away.
Tap the jug lightly on the counter after frothing. It can help large bubbles rise and pop.
Best milk types for fast results
Whole milk often makes the richest foam. It has enough fat for a creamy feel and enough protein for stable bubbles.
Low-fat milk can also foam well. It may make a lighter, taller foam, but the texture can feel less rich.
Oat milk and other plant milks vary a lot by brand. Some are made for foaming, while others stay thin.
Plant milks often need brand-by-brand trial and error. Check the carton for wording like “barista” or “froths well.”
Ideal temperature and fill level
Warm foam tastes best for many drinks, but the milk should not get too hot. Overheating can hurt texture and make the drink taste flat.
For most frothers, the safest bet is to stay within the maker’s fill lines. Too little milk can whip unevenly. Too much can spill or collapse the foam.
Do not overfill an electric frother. Hot milk can splash or overflow and cause burns.
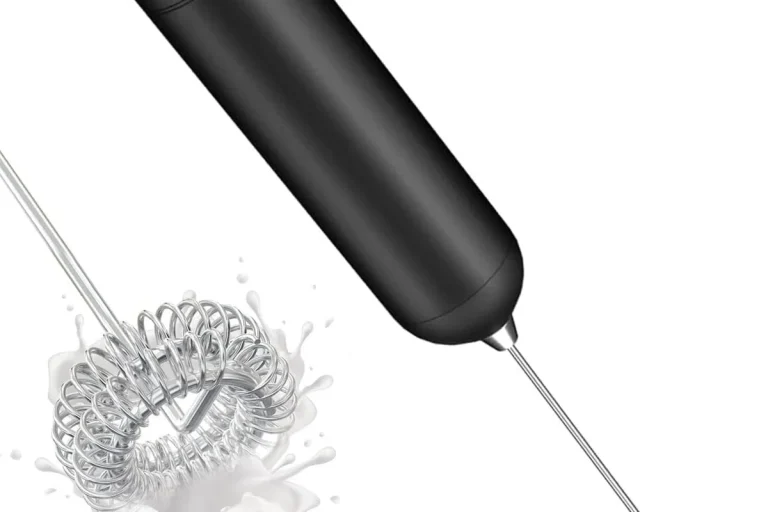
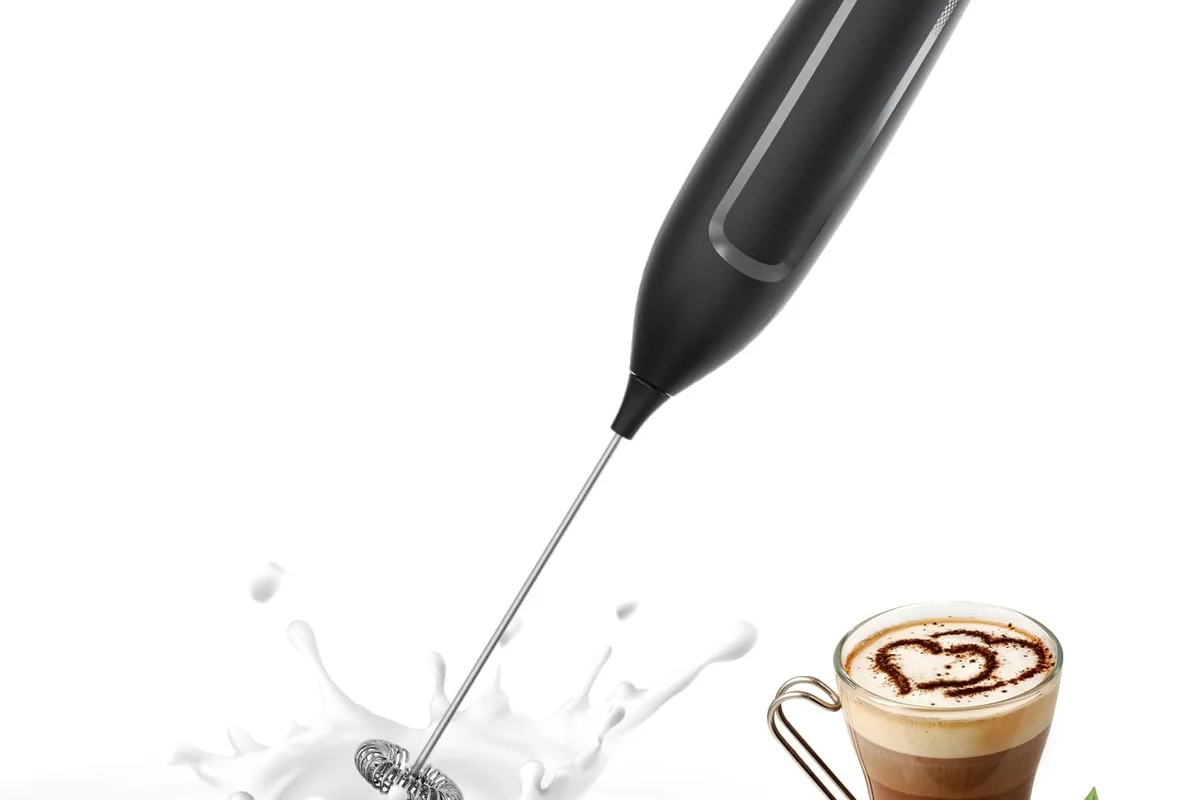
How an Electric Milk Frother Creates Foam
An electric milk frother works by mixing milk, air, and motion. Some models also add heat.
The whisk pulls air into the milk. That air gets trapped in tiny bubbles, which build the foam.
What the whisk, air, and heat do
The whisk spins fast and breaks milk into small bubbles. Smaller bubbles usually mean thicker foam.
Heat helps the foam feel smoother and makes the drink more pleasant. But too much heat can weaken the foam and change the taste.
Why some frothers make denser foam than others
Not every frother makes the same foam. Motor strength, whisk shape, and jug design all matter.
A better-designed frother can move milk in a tighter swirl. That helps create smaller bubbles and a denser top layer.
Fast, steady spinning helps pull in fine air bubbles.
A well-shaped jug helps milk move in a smooth circle.
Gentle heat supports texture without pushing milk too far.
Some whisk heads make tighter foam than simple stirrers.
Key Specs and Ingredients That Affect Foam Thickness
Foam quality depends on both the milk and the frother. You need the right mix of ingredients and machine design.
Milk fat, protein, and sugar content
Protein helps foam hold together. That is why many dairy milks foam well.
Fat adds creaminess. More fat can make foam feel richer, though it may not always make it taller.
Sugar can change taste and mouthfeel, but it does not build foam on its own. Sweetened drinks may taste fuller, even when the foam is the same.
Frother power, whisk shape, and jug size
A stronger motor can move milk more evenly. That often helps build thicker foam faster.
Whisk shape matters too. A small, tight whisk can make more compact bubbles than a loose one.
Jug size also plays a role. A small jug can make foam faster for one drink, while a larger jug may suit more servings.
Cold milk versus warm milk
Cold milk usually gives you more frothing time. That can help if you want thick foam without rushing.
Warm milk can still foam well, but it reaches the stop point sooner. If it gets too hot, the foam can thin out.
Common Mistakes That Stop Foam from Getting Thick
Most foam problems come from small setup errors. The good news is that they are easy to fix.
Using the wrong milk or too much milk
Very low-protein milk can struggle to foam. Some plant milks do this too, unless they are made for frothing.
Too much milk crowds the jug. The whisk cannot move the milk well, and the foam has nowhere to grow.
The foam looks thin and disappears fast.
Try whole milk or a barista-style plant milk, and use less milk next time.
Overheating, underfilling, or overfilling the frother
Overheating can make foam break down. It can also make the milk taste cooked.
Underfilling can cause weak mixing. Overfilling can lead to spills and poor foam shape.
Not frothing long enough or frothing too long
If you stop too early, the foam may stay loose. If you go too long, the bubbles can get big and unstable.
Watch the texture, not just the clock. Thick foam should look smooth, not dry or bubbly.
- Watch for glossy, stable foam before stopping.
- Keep the frother clean and dry between uses.
- Do not guess the fill level.
- Do not keep frothing after the foam looks finished.
Best Uses, Limits, and When Thick Foam Is Worth It
Thick foam shines in drinks where texture matters. It can make a simple drink feel much more special.
Drinks that benefit most from thick foam
Cappuccinos are the classic choice. Thick foam gives them their signature top layer.
Lattes can also use thick foam, especially if you want a richer finish. Hot chocolate and flavored milk drinks can benefit too.
Cases where lighter foam works better
Some drinks need more milk and less foam. A flat white, for example, usually tastes better with a thinner layer.
If you want the coffee flavor to stay front and center, lighter foam may be the better choice.
Flavor, texture, and serving trade-offs
Thicker foam feels richer, but it can hide some coffee notes. Lighter foam blends in more easily.
So the best foam is not always the thickest foam. It depends on the drink you want.
Cleaning, Care, and Safety Tips for Better Results
A clean frother makes better foam. Old milk residue can affect taste, smell, and performance.
How clean parts improve froth quality
Milk film on the whisk or jug can block smooth movement. That can make foam uneven.
Rinse parts soon after use if the manual allows it. Then wash them fully before the residue dries.
Safe use around heat, steam, and splashes
Hot milk can burn skin fast. Steam and splashes can also surprise you.
Keep your face and hands clear when the frother runs. Always follow the maker’s safety notes for your model.
Follow the appliance manual and stop using damaged equipment.
Simple maintenance that keeps performance strong
Check the whisk for buildup, bends, or wear. A worn whisk can foam poorly.
Store the frother dry and clean. If your model has removable parts, wash and dry them as directed.
Rinse or wash removable parts, then dry them fully.
Inspect the whisk, lid, and jug for buildup or damage.
Final Recommendation: The Fastest Way to Get Thick Foam at Home
The fastest path is usually the simplest one. Use cold milk, stay within the fill line, and stop when the foam looks smooth and dense.
If you are just starting out, choose whole milk first. It gives you a strong baseline and helps you learn the feel of good foam.
Best approach for beginners
Begin with a small batch. That makes it easier to judge the right stop point.
Watch the foam closely near the end. That is where texture changes happen quickly.
What to look for when buying a frother
Look for clear fill marks, easy cleaning, and a whisk designed for foam. A simple control setup also helps.
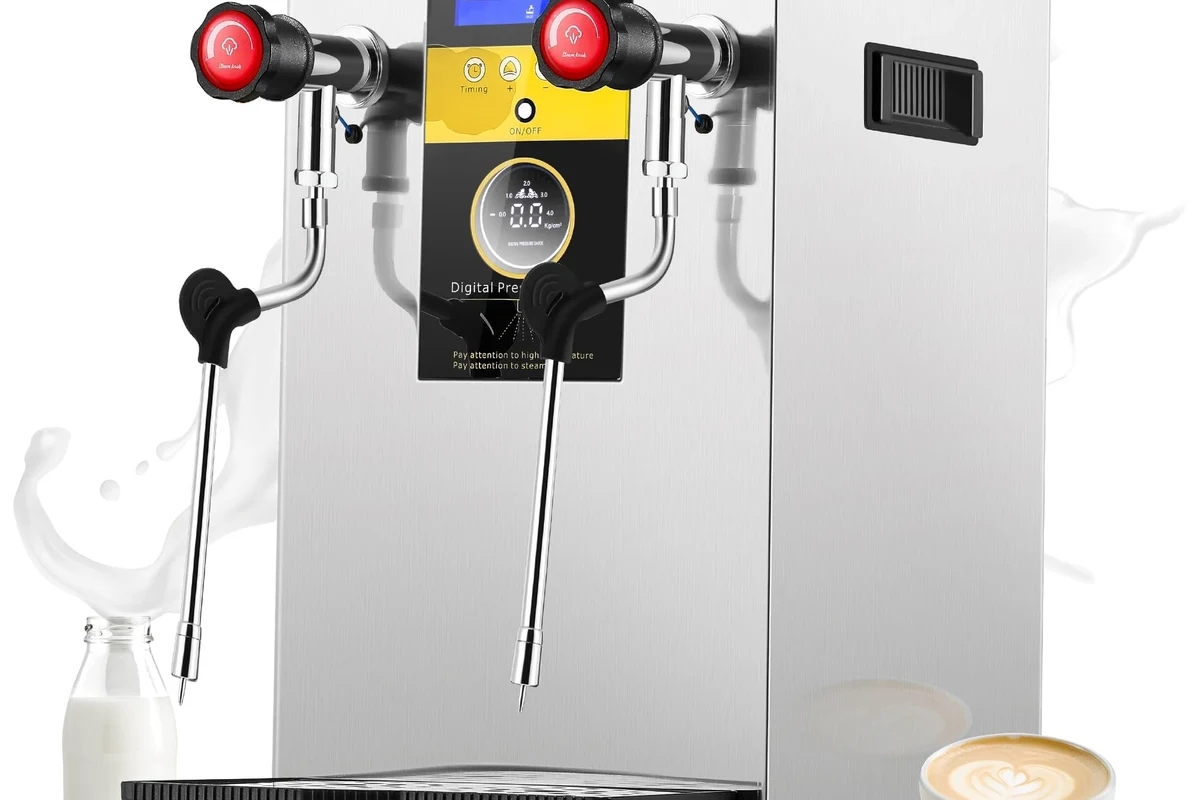
If you drink a lot of cappuccinos or lattes, a model with stable heat control can be worth it.
Value tips for getting better foam without spending more
You do not always need a more costly frother. Better milk choice and cleaner parts can improve results right away.
That is why the best upgrade is often technique, not a new appliance.
- Cold milk and the right fill level help foam build faster.
- Whole milk often gives the richest thick foam.
- Clean parts and careful timing improve texture a lot.
- Match foam thickness to the drink you want.
If you want thick foam fast, use cold whole milk, avoid overfilling, and stop at a glossy, stable finish. Beginners should focus on simple technique first, then compare frother features if they need more control or easier cleanup.
Frequently Asked Questions
Whole milk often makes the richest and most stable foam. Some barista-style oat milks also foam well, but results vary by brand.
Thin froth usually comes from the wrong milk, too much milk, or weak frothing time. Dirty parts or overheating can also hurt texture.
Cold milk usually gives you more time to build thick foam. Warm milk can work too, but it reaches the finish point faster.
Fill only to the maker’s marked line. Too much milk can overflow, while too little may froth unevenly.
Rinse or wash the removable parts soon after use if the manual allows it. Clean parts help the whisk move smoothly and keep milk residue from affecting taste.
Stop using it if the cord, whisk, lid, or jug looks damaged, or if it overheats or leaks. Follow the manual and replace worn parts when needed.