How to Make Cafe Style Foam with Electric Milk Frother
Use fresh milk, warm it gently, and froth in steady motions for cafe style foam. Tap and swirl at the end to make the foam smooth and glossy.
Cafe style foam is easy to make at home once you know the right milk, heat, and frothing pace. With an electric milk frother, you can make smooth foam for lattes, cappuccinos, and iced drinks without much guesswork.
- Milk choice matters: Whole milk and barista-style non-dairy milk often froth best.
- Heat matters: Warm milk works better than cold or boiling milk.
- Texture matters: Tap and swirl the foam for a smoother cafe look.
- Cleanup matters: Rinse parts right away to stop milk buildup.
What Cafe Style Foam Really Is and Why It Matters
Cafe style foam is not just a pile of bubbles. Good foam feels fine and glossy. It blends into the drink and tastes creamy, not airy or dry.
That matters because foam changes the whole sip. It affects texture, sweetness, and how well latte art holds on top.
Microfoam vs thick foam
Microfoam has tiny, even bubbles. It looks shiny and pours like wet paint. Baristas use it for latte art and smooth drinks.
Thick foam has larger bubbles and a lighter feel. It sits on top instead of mixing in. It works better when you want a fluffy cap.
Milk proteins help trap air. That is why cold, fresh milk often froths better than old milk.
Best drinks for each foam type
Microfoam suits lattes, flat whites, and cappuccinos with a smooth finish. It gives the drink a rich feel without a heavy foam layer.
Thick foam fits cappuccinos, mocha drinks, and some flavored coffees. It also works well for people who like a lighter top layer.
How to Make Cafe Style Foam with an Electric Milk Frother
The basic method is simple. Start with the right milk, warm it to a safe range, and froth in short, steady bursts. Then tap and swirl the cup to smooth out the bubbles.
Choose the right milk
Whole milk usually makes rich foam with a creamy feel. Low-fat milk can make more foam, but it may feel less silky.
Non-dairy milk can work too, but results vary a lot by brand. Look for barista-style versions if you want more stable foam.
Results vary by brand, protein level, sugar content, and added stabilizers. Always check the carton if you want the best chance of good foam.
Heat the milk to the right range
Warm milk helps foam form well, but too much heat ruins the texture. A common target is warm, not boiling. If you use a thermometer, stop before the milk gets too hot to touch.
Overheated milk can taste flat or scorched. It can also break down the foam faster.
Do not overheat milk. Follow your frother manual and stop if the milk smells scorched or starts to steam hard.
Froth with steady, simple motions
Pour the milk into the frother at the fill line or below it. Leave room for expansion. Then froth in steady motions until the milk looks smooth and light.
If your frother has heat and froth settings, use the one meant for milk drinks. If it has a wand, keep the tip near the surface at first, then lower it a bit as foam builds.
Add cold milk to the marked line or less.
Use a steady motion and keep the milk moving.
Stop when the milk looks glossy and feels warm.
Tap and swirl for a smoother finish
After frothing, tap the cup lightly on the counter. This helps pop big bubbles. Then swirl the milk in a small circle to make it look smoother.
This step matters more than many people think. It can turn decent foam into foam that looks much closer to cafe style.
- Tap the cup once or twice, not hard.
- Swirl right before pouring for the smoothest finish.
- Pour soon after frothing so the foam stays stable.
What You Need for Better Foam Results
A frother helps, but your setup still matters. Milk type, cup shape, and frother style all change the result.
Milk types and fat levels
Whole milk gives a rich taste and a soft texture. Skim milk often makes more foam, but it can feel lighter and less creamy.
For non-dairy milk, choose one made for frothing if possible. Oat milk often does well, but brands differ.
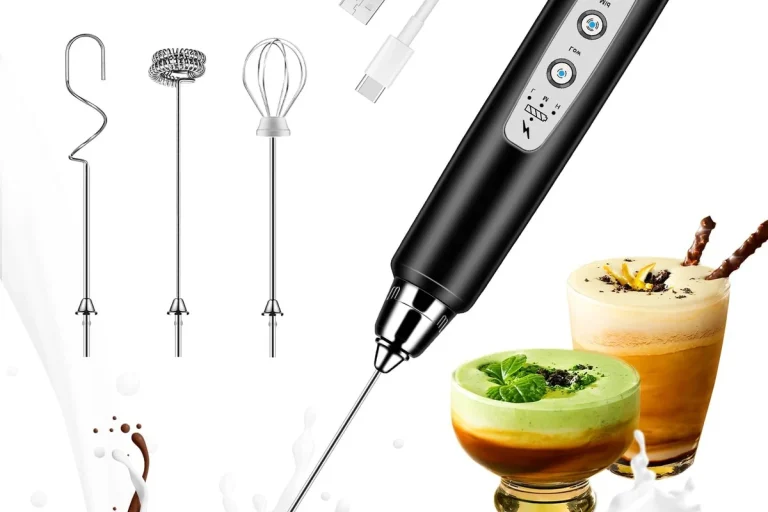
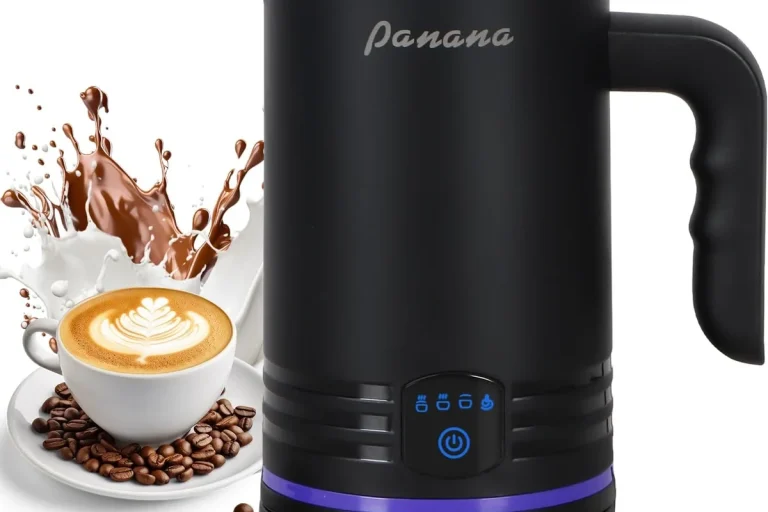
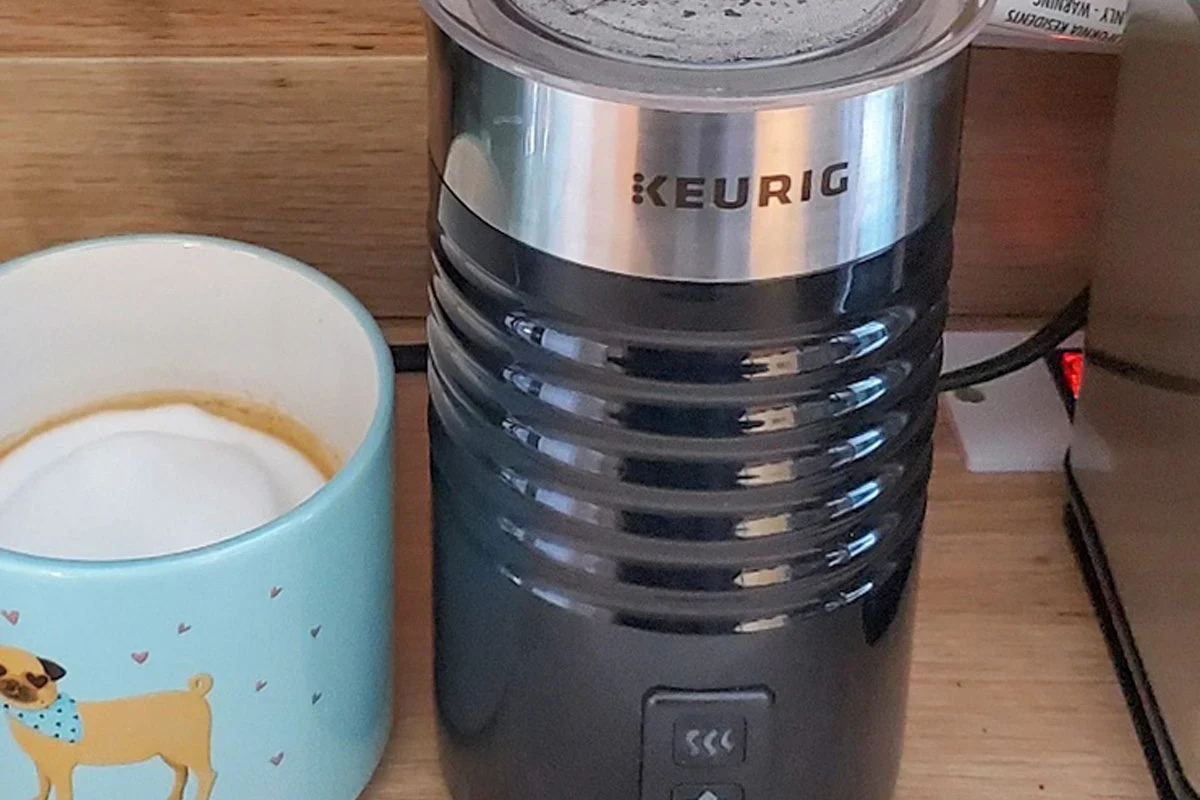
Frother styles and power levels
Handheld frothers are cheap and easy to store. They work well for small jobs, but they can be less consistent.
Jug-style frothers often give more even heat and foam. Some also offer foam and warm settings. That can help if you make drinks often.
Useful extras like mugs and thermometers
A wide mug gives the foam room to rise. A narrow cup can make frothing messy. A thermometer also helps if your frother does not control heat well.
You do not need fancy tools, but the right basics make the process easier. That is especially true if you are still learning the feel of good foam.
- Capacity and dimensions
- Controls, cleaning, warranty, and safety
- Heat settings and foam style options
Common Mistakes That Ruin Foam
Most foam problems come from a few simple mistakes. The good news is that they are easy to fix once you spot them.
Overheating the milk
Too much heat changes the milk taste and weakens the foam. It can also make the texture grainy.
Stop as soon as the milk feels hot and looks smooth. Do not wait for a hard boil.
Using the wrong cup size
If the cup is too small, the milk can spill. If it is too large, the frother may not whip enough air into the milk.
Use the size your frother manual recommends. That simple step can improve results right away.
Frothing too long or too hard
Too much frothing can make big bubbles and a dry top layer. The foam may look full at first, but it can collapse fast.
Short, steady frothing usually works better than a long, aggressive run.
Starting with low-quality milk
Old milk or milk with weak protein can give poor foam. Some plant milks also break down fast.
If your foam keeps failing, try a fresher carton or a different brand before blaming the frother.
The foam looks big at first, then falls flat fast.
Use fresher milk, froth less, and tap out large bubbles before pouring.
How to Get Better Results for Lattes, Cappuccinos, and More
Different drinks need different foam styles. Once you know that, it gets much easier to dial in the right texture.
Foam for lattes
Lattes need smooth microfoam. Aim for a glossy finish with very small bubbles. The milk should pour easily and blend with espresso.
For the best latte feel, keep the foam thin and silky. Too much foam can make the drink feel heavy on top.
Foam for cappuccinos
Cappuccinos usually need a thicker foam cap. You want a light top layer with a creamy middle and a strong coffee base.
It is fine if the foam sits a bit higher here. That is part of the classic drink style.
Foam for iced drinks
Iced drinks need foam that holds up against cold liquid and ice. Use cold milk and froth only if your frother and recipe allow it.
Some frothers work better with warm drinks, so check the manual. If you add foam to iced coffee, pour it gently on top.
Foam for non-dairy milk
Non-dairy milk often needs a little trial and error. Oat milk, soy milk, and special barista blends usually work best.
Shake the carton first if the label says to do so. That helps mix ingredients that may settle.
The main difference is texture. Lattes need smoother foam, while cappuccinos need more volume and a lighter top.
Silky microfoam
Best for smooth pouring, rich texture, and blended milk drinks.
VS
Thicker foam
Best for a foam cap and a lighter, airier drink feel.
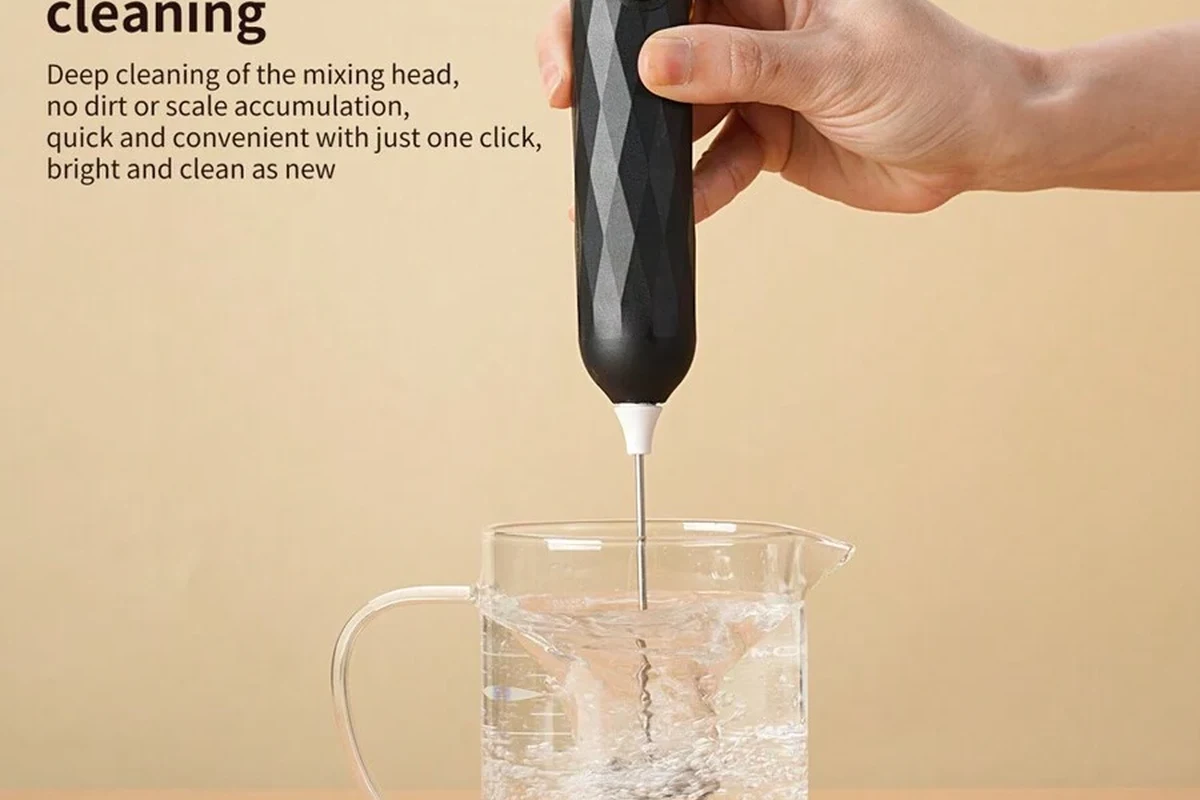
Cleaning and Caring for Your Electric Milk Frother
Clean tools make better foam. Milk residue can change taste, slow the frother, and cause buildup over time.
Daily cleaning steps
Rinse removable parts right after use. Wipe the inside with a soft cloth if the manual allows it. Dry all parts before storage.
For handheld frothers, clean the whisk head right away. Dried milk can be hard to remove later.
Rinse or wipe the parts, then dry them fully.
Check for buildup, wear, loose parts, or weak spinning.
How to avoid milk buildup
Do not let milk sit in the frother. That is the fastest way to get stuck-on residue. Use warm water and a mild cleaner if your manual allows it.
Keep the base and cord dry if your model has one. Never soak electrical parts unless the maker says it is safe.
Follow the appliance manual and stop using damaged equipment.
When to check for wear or damage
Look for cracks, rust, loose fittings, strange noise, or weak frothing. Those signs can mean the frother needs service or replacement.
If a cord is damaged or the unit behaves oddly, stop using it. Contact the maker or a qualified repair service.
Is an Electric Milk Frother Worth It in 2026
For many home coffee drinkers, yes. An electric milk frother can make drink texture much better with very little effort. It also saves time compared with manual frothing.
Cost vs cafe savings
The real value depends on how often you buy coffee drinks. If you make lattes or cappuccinos often, home foam can add up to real savings over time.
That said, the best choice is not always the cheapest one. A better-built frother may clean easier and last longer.
Who should buy one
Buy one if you want better coffee at home without learning full espresso steaming skills. It is also a good fit if you make drinks for guests.
You may not need one if you only drink black coffee. In that case, the extra tool may just take up space.
Best for small kitchens, single drinks, and quick cleanup.
Best for more drinks, more foam, and less repeat work.
Final recommendation from Red Kitchen Project
If you want cafe style foam at home, an electric milk frother is a smart, useful tool. The best results come from fresh milk, the right heat, and a gentle finish after frothing.
For most people, a simple frother is enough. Choose a more advanced model only if you want more control, easier cleanup, or bigger batches.
An electric milk frother is worth it for anyone who wants smoother home coffee with less effort. Pick a simple model for one or two drinks, or a larger one if you make foam often and want easier cleanup.
- Use fresh milk and stop before it gets too hot.
- Tap and swirl the foam for a smoother finish.
- Match foam style to the drink you want.
- Clean the frother right away to prevent buildup.
Frequently Asked Questions
Whole milk usually gives rich, smooth foam. Barista-style oat, soy, or other non-dairy milks can also work well, but results vary by brand.
Warm milk works best, but it should not boil. If you use a thermometer, stop before the milk gets too hot to comfortably touch.
The milk may be overheated, frothing may have gone on too long, or the cup may be the wrong size. Tapping and swirling after frothing can also help smooth it out.
Yes, but the result depends on the brand and ingredients. Barista-style versions often foam better than regular cartons.
Rinse or wipe removable parts right after use and dry them fully. Do not soak electrical parts unless the manual says it is safe.
Stop using it if you see cracks, rust, loose parts, strange noise, weak frothing, or a damaged cord. Check the manual and contact the maker or a qualified repair service.