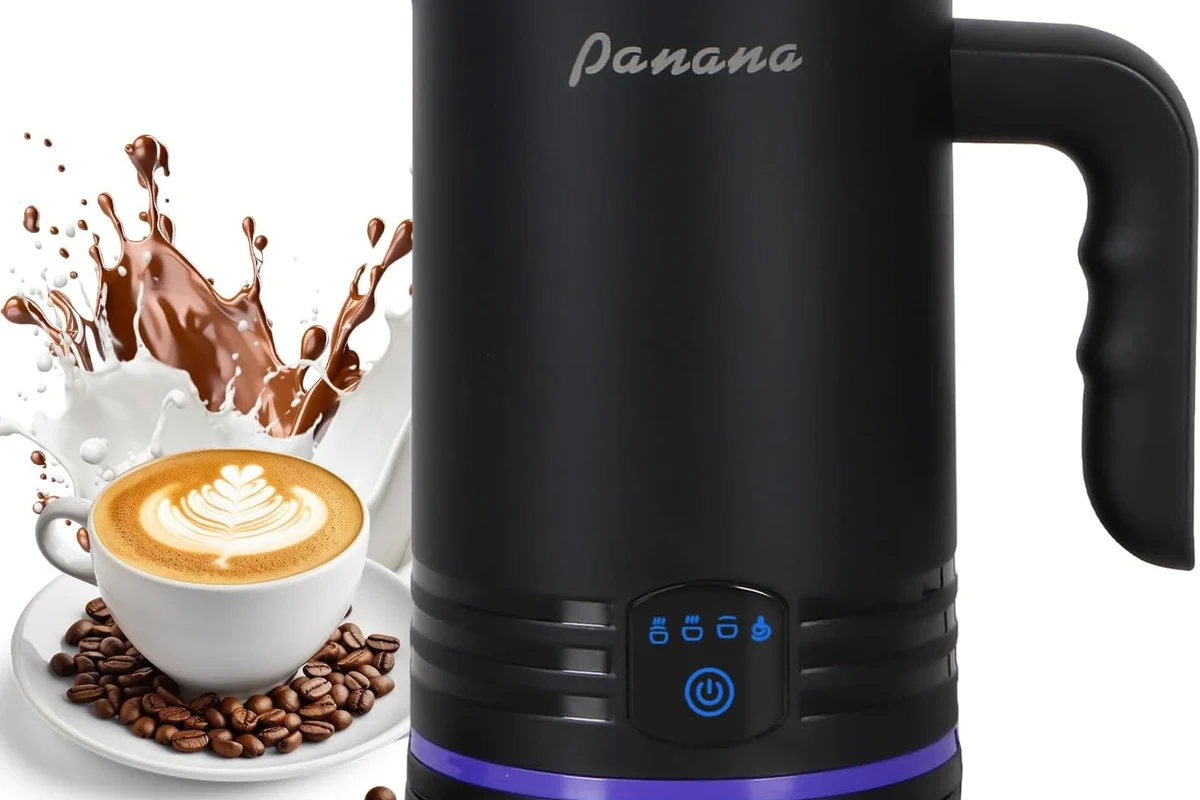
How to Use Electric Milk Frother for Perfect Foam
Use an electric milk frother by filling it to the line, choosing the right foam setting, and pouring right away. Clean it after each use so it keeps making smooth foam.
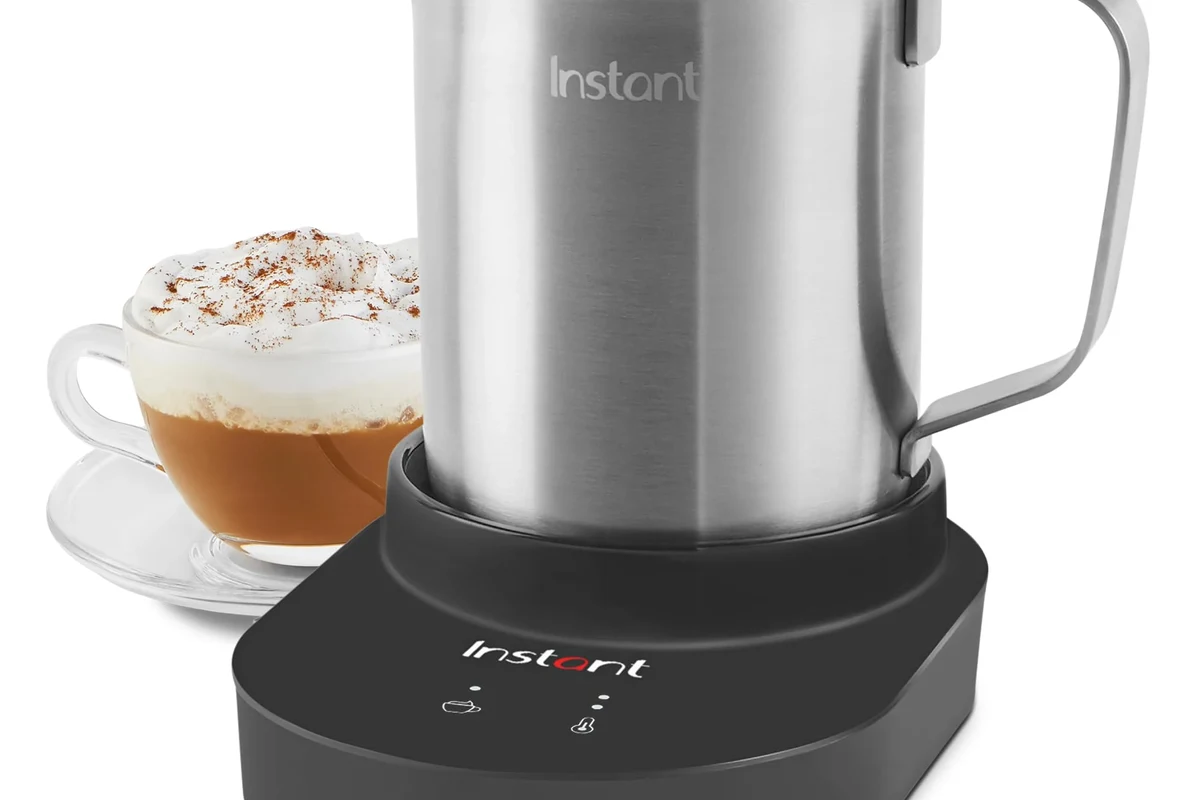
If you want café-style foam at home, an electric milk frother makes it easy. The basic process is simple: add milk to the right line, choose a setting, froth, then pour right away for the best texture.
- Fill line matters: Leave room for milk to expand while frothing.
- Milk choice changes foam: Whole milk and barista plant milks usually work best.
- Timing matters: Pour the foam right after frothing for the best texture.
- Cleaning matters: Rinse and wipe the frother after every use.
- Safety matters: Keep the base dry and stop using damaged equipment.
What an Electric Milk Frother Does and Why It Matters
An electric milk frother adds air to milk and warms it, depending on the model. That turns plain milk into a light, creamy layer for lattes, cappuccinos, hot chocolate, and even iced drinks.
It matters because foam changes both feel and taste. Good foam can make a drink seem sweeter and smoother without adding much sugar.
How frothing changes milk texture and taste
Frothing breaks milk into tiny bubbles. That gives it a soft, silky feel instead of a flat, watery one.
Warm foam also changes how you taste the drink. The milk feels richer, while the coffee or cocoa flavor stays balanced.
Milk foams best when proteins help trap air. That is why some milks hold foam better than others.
Best milk types for rich foam
Whole milk usually gives the creamiest foam. It has enough fat and protein to build a smooth, stable top.
Low-fat milk can make more foam, but it may feel less rich. Non-dairy milks vary a lot, so check the label for “barista” versions when possible.
Results vary by brand, freshness, and protein level. Some plant milks foam well, while others stay thin.
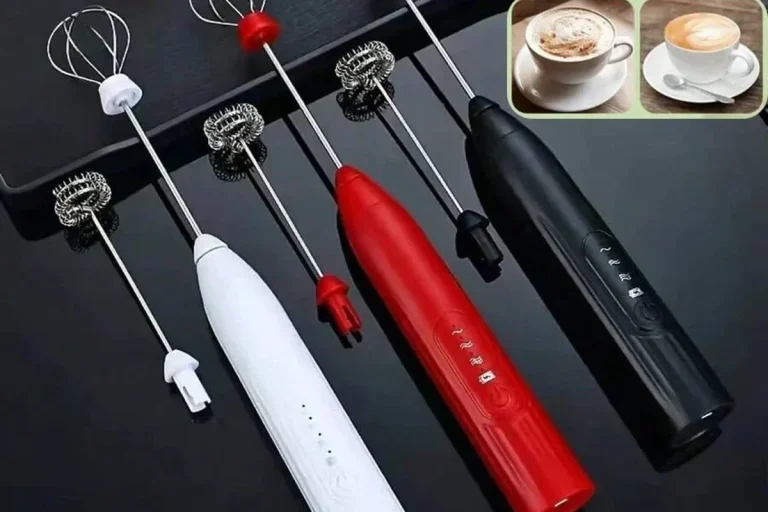
How to Use Electric Milk Frother Step by Step
Most electric milk frothers are easy to use. Still, the best results come from a few careful steps.
Set up the frother and check the fill line
Start with a clean frother and a dry base. Read the manual first, since controls and fill marks differ by model.
Pour in the milk without going past the max line. Too much milk can spill once the foam expands.
Choose hot foam, cold foam, or simple heating
Use hot foam for lattes and cappuccinos. Choose cold foam for iced drinks, or use a heat-only setting when you want warm milk without much air.
The right setting depends on your drink. For example, hot foam works well in winter, while cold foam is great over iced coffee.
Froth the milk and pour it the right way
Press the start button and let the frother do the work. Do not lift the lid or move the cup while it runs.
When it stops, pour at once. Foam holds its best shape right after frothing, before it starts to settle.
Use the marked line so the milk has room to expand.
Choose hot foam, cold foam, or heat-only mode.
Serve the foam before it starts to collapse.
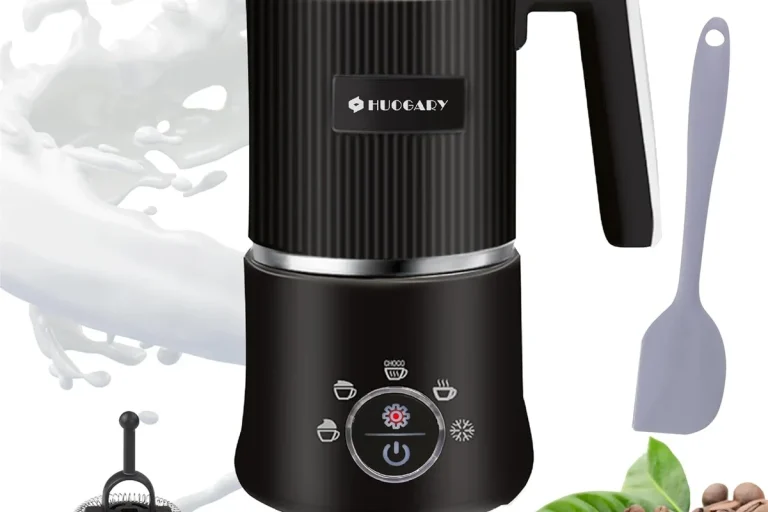
Key Settings, Specs, and Ingredients to Get Better Foam
Small details can change the final result a lot. Temperature, speed, milk type, and cup shape all matter.
Temperature control and froth speed
Some frothers let you choose heat levels or foam styles. That helps when you want soft foam for one drink and dense foam for another.
Faster whisk action can create more bubbles, but it may also make foam less silky. The best setting depends on the model and the milk.
Milk fat, protein, and non-dairy options
Protein helps foam hold its shape. Fat helps it taste creamy and smooth.
That is why whole milk often feels like the safest pick for rich foam. If you want a plant-based option, look for one made for frothing.
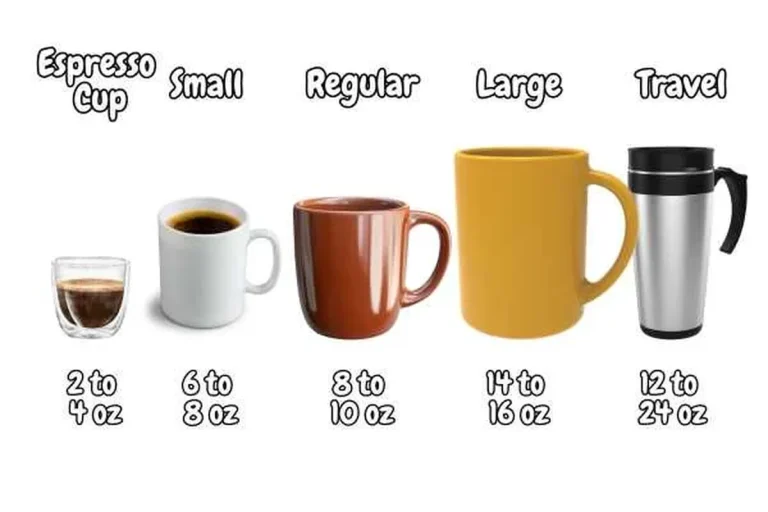
What to look for in frother capacity and design
Capacity matters more than many shoppers expect. A small cup is fine for one drink, but it may not suit a family kitchen.
Also check the shape of the inside cup. A wider base and easy-pour spout can make serving less messy.
Common Mistakes That Ruin Foam
Most foam problems come from simple user errors. The good news is that they are easy to avoid.
Overfilling the cup
Overfilling is one of the fastest ways to make a mess. Milk expands as it froths, so the cup needs extra space.
Stay below the max line every time. If you need more foam, make a second batch instead.
Milk spills over the top or splashes onto the counter.
Fill only to the marked line and froth smaller batches.
Using milk that is too warm or too cold
Very warm milk can foam poorly and may scald faster. Milk that is too cold can also take longer to heat and froth well.
For best results, start with cold milk from the fridge unless your manual says otherwise. That gives the frother more room to work.
Skipping the right cleaning steps
Old milk residue can hurt foam and leave a bad smell. It can also make the whisk stick or the cup stain.
Clean the frother after each use. If the manual says a part is removable, wash it the way the maker recommends.
Safety Tips and Smart Kitchen Use
Electric frothers are simple, but they still use heat and electricity. A little care goes a long way.
Avoid spills, burns, and electrical damage
Keep the base dry and unplug the unit before cleaning. Never place the frother near a sink if water could splash into it.
Let hot foam cool for a moment before tasting. The milk can be hotter than it looks.
Stop using the frother if the cord, plug, or base looks damaged. Follow the manual and official safety guidance for your model.
How to use the frother near kids or guests
Place the frother where it will not be bumped during use. Hot milk can splash if the cup gets moved.
If kids are nearby, keep the cord tucked away and handle the hot cup yourself. That simple habit helps prevent burns.
Cleaning and Maintenance for Longer Life
Good cleaning keeps the frother working well and helps foam taste fresh. It also makes the machine easier to use next time.
Daily cleaning after each use
Rinse the cup right after pouring. Wipe the inside with a soft cloth or sponge if the manual allows it.
Do not let milk sit inside the frother for long. Dried milk is harder to remove later.
Deep cleaning the whisk and inside cup
Check whether the whisk lifts out or the cup has a washable insert. Many models make this easy, but the method varies.
Use gentle cleaning only. Avoid harsh scrubbers that can scratch the finish or damage nonstick parts.
Rinse, wipe, and dry all safe-to-clean parts.
Inspect the whisk, seal, and power cord for wear.
How to store the frother between uses
Store the frother in a dry spot with the lid open if the manual allows it. That helps moisture escape.
Wrap the cord loosely and keep the base away from heat. A neat storage spot also makes the appliance easier to grab for daily coffee.
Value, Limits, and When a Milk Frother Is Worth It
An electric milk frother is a smart buy for many home coffee lovers. It is not perfect for every kitchen, though.
Who benefits most from an electric milk frother
This appliance is a great fit if you make lattes, cappuccinos, matcha, or hot chocolate often. It also helps when you want foam without learning steam wand skills.
It is especially useful for small kitchens. The machine is usually easier to manage than a full espresso setup.
Best for one or two drinks and limited counter space.
Best for homes that make several drinks in a row.
When a manual frother or steam wand may be better
A manual frother can cost less and needs no power. It can also be handy if you only froth milk once in a while.
A steam wand may be better for serious espresso fans. It gives more control, but it also takes more skill and cleanup.
- Fast and simple for daily drinks
- Easy for beginners
- Good for hot or cold foam
- Batch size can be limited
- Cleaning still matters
- Some models offer fewer controls
Final Recommendation for Home Coffee Lovers
For most people, the best way to use an electric milk frother is to keep it simple. Fill to the line, choose the right setting, froth, and pour right away.
If you want everyday foam for home drinks, a well-designed frother is worth it. If you need larger batches or more barista control, a steam wand or manual frother may suit you better.
An electric milk frother is a practical choice for easy, reliable foam at home. It works best for quick drinks, small kitchens, and users who want simple cleanup, while heavy espresso users may want more control.
Best use cases for everyday drinks and simple recipes
Use it for lattes, cappuccinos, mochas, iced coffee, and warm milk drinks. It also works well for quick treats like frothy cocoa.
In short, it is a small tool that can make home drinks feel more special without much effort.
What to expect from a good frother in 2026
Expect simple controls, steady foam, and easy cleaning to matter more than fancy extras. The best model for you depends on milk type, batch size, and how often you will use it.
Before buying, check the manual, cleaning steps, and safety notes. That will help you pick a frother that fits your kitchen and your routine.
- Use cold milk and stay below the fill line.
- Pick the right mode for hot foam or cold foam.
- Clean the frother after every use.
- Choose capacity and controls that fit your daily drinks.
Frequently Asked Questions
Whole milk usually makes the creamiest foam. Many barista-style plant milks also foam well, but results vary by brand.
Cold milk from the fridge usually works best unless your manual says otherwise. It gives the frother more room to heat and foam the milk.
Do not fill past the max line. Milk expands as it froths, so smaller batches help prevent spills.
Rinse and wipe it after each use, following the manual for any removable parts. Do not let milk dry inside the cup.
Weak foam can come from the wrong milk, overfilling, or a dirty whisk. Check the settings and clean the parts the manual says are safe to wash.
Stop using it if the cord, plug, or base is damaged, or if it overheats or acts oddly. Follow the manual and official safety guidance for your model.