How to Clean Electric Milk Frother Fast and Easy

Clean an electric milk frother right after use with warm water, mild soap, and a soft sponge. Never submerge the base, and always dry every part before storing it.
If you want to know how to clean electric milk frother parts fast, start with warm water, a drop of dish soap, and a soft cloth. Most daily cleanup takes only a few minutes when you clean the jug, whisk, lid, and seals right after use.
- Rinse fast: Fresh milk comes off much easier than dried milk.
- Use soft tools: Mild soap and a soft sponge protect the finish.
- Keep the base dry: Water and electrical parts should never mix.
- Check hidden spots: Lids, seals, and whisk slots trap residue.
- Replace when needed: Cracks, wear, or bad smells can mean it is time.
How to Clean an Electric Milk Frother Fast and Easy
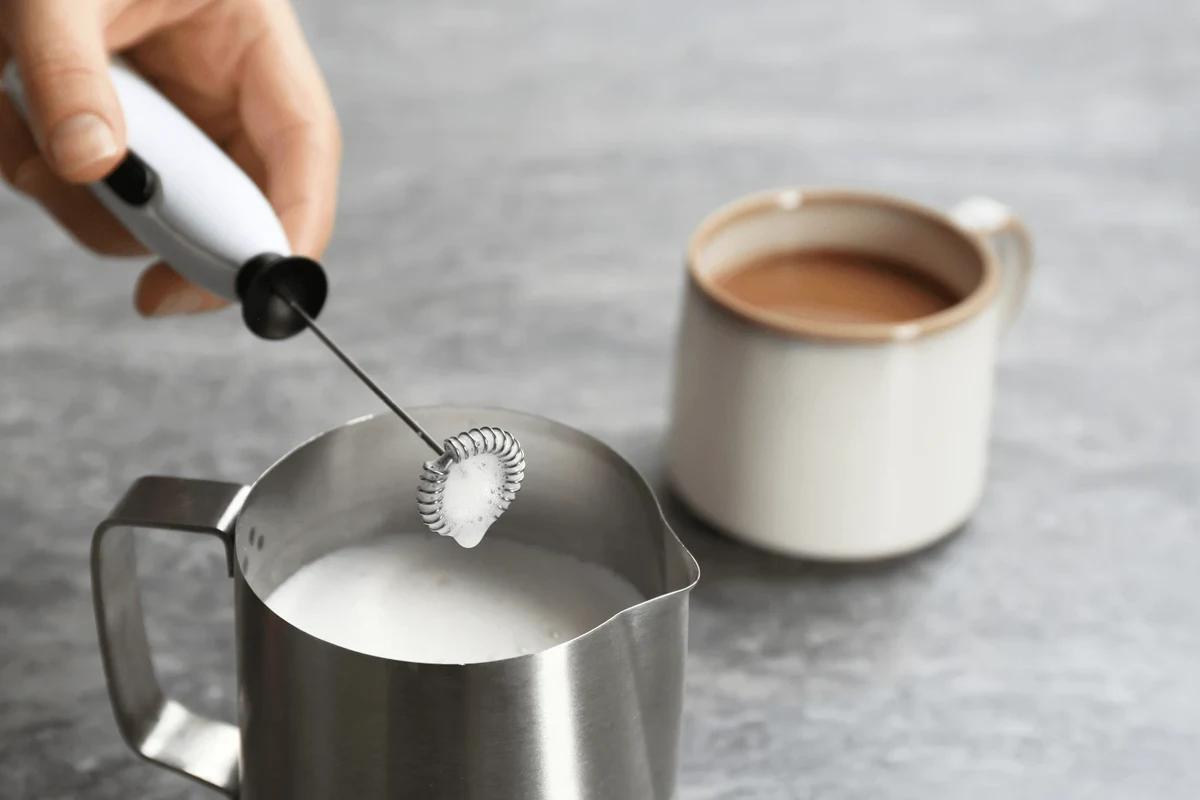
The fastest safe method is simple. Empty the frother, unplug it, and let it cool. Then rinse the jug or cup with warm water, wash the removable parts with mild soap, and dry everything well.
That routine works for most models. Still, your manual should always come first, since some frothers have special coatings or parts that need extra care.
The quickest safe method for daily cleaning
For day-to-day use, you do not need a deep scrub. You just need to stop milk from drying on the parts.
Mild dish soap
Soft sponge or cloth
Soft brush for tight spots
Clean towel
Always disconnect the frother before cleaning. Let hot parts cool first.
Rinse the jug, whisk area, and lid before milk dries on them.
Use warm soapy water and a soft sponge. Avoid rough pads.
Wipe all parts dry before reassembly or storage.
Cleaning right after frothing saves time. Dried milk is much harder to remove later.
What parts need cleaning after each use
Most frothers have a few parts that collect milk fast. Focus on the parts that touch milk or steam.
- The jug or cup that holds the milk
- The whisk or frothing disk
- The lid and pour spout
- The seal or gasket, if your model has one
- The inside rim and corners
Some models also have a heating plate or base area that may need a wipe. Do not soak that area unless the manual says it is safe.
How an Electric Milk Frother Works and Why Cleaning Matters
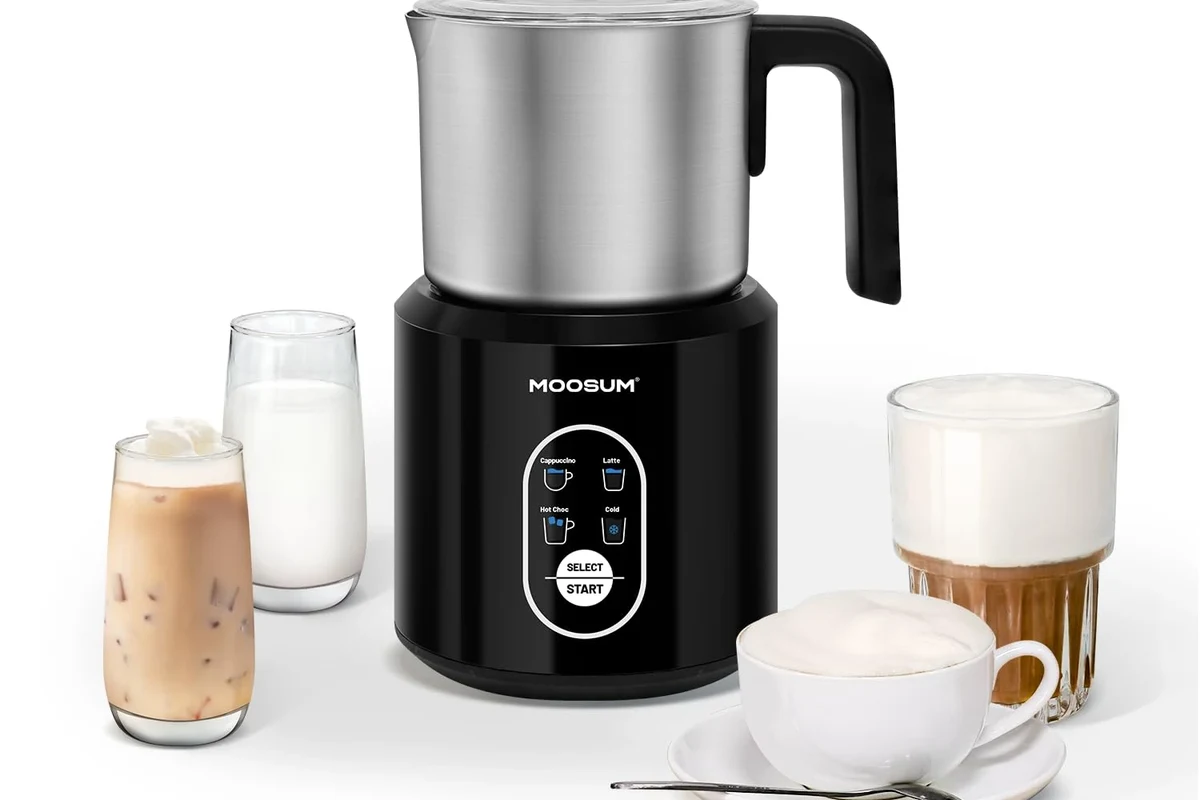
An electric milk frother mixes air into milk with a spinning whisk or heated whisk system. Some models also warm the milk at the same time.
That simple job leaves behind milk fats, sugars, and tiny foam bits. If you skip cleaning, those leftovers can build up fast.
Motor, whisk, jug, and heating parts explained
The motor usually sits in the base. It powers the whisk or frothing disk that spins inside the jug.
The jug holds the milk. On heated models, a plate or hidden heat part warms the milk while it froths.
Drives the whisk, so milk residue near moving parts matters.
Builds foam, but also traps milk film and tiny bits of foam.
Holds milk and often needs the most frequent cleaning.
Need careful wiping, since water and electricity do not mix well.
How milk residue affects foam, taste, and smell
Old milk residue can make fresh foam taste off. It can also leave a sour smell inside the frother.
Built-up residue can change how the whisk moves too. That may lead to weak foam or uneven frothing.
Milk proteins can stick to warm surfaces very quickly. That is why fast rinsing helps so much.
Step-by-Step Cleaning Guide for Everyday Use
Cleaning gets easier when you match the method to your frother type. A removable whisk needs different care from a fixed jug design.
Cleaning a frother with a removable whisk
Many small frothers let you lift out the whisk. That makes cleanup much simpler.
Take it out only after the unit is unplugged and cool.
Run warm water over it and wash with a small amount of soap.
Use a soft brush or cloth around the whisk slot if milk has splashed there.
Make sure the whisk and slot are dry before you put them back.
Cleaning a frother with a nonstick or stainless steel jug
Nonstick jugs need gentle care. Stainless steel jugs also clean well, but they can still scratch.
Use warm water and a soft sponge. If milk has dried on, let the jug soak for a short time first.
Some nonstick coatings can wear down faster with harsh scrubbers. Check your manual before using any stronger cleaner.
How to clean lids, seals, and hard-to-reach spots
Lids and seals often hide milk in small grooves. These spots can cause smells if you miss them.
Remove any detachable seal and wash it by hand. Use a soft brush or cotton swab for corners and pour spouts.
- Wash small parts in a bowl so they do not slip down the drain.
- Check under the lid edge for thin milk film.
- Dry seals fully before putting them back.
Best Cleaning Methods, Tools, and Ingredients
The best cleaning method is usually the simplest one. Mild soap and warm water handle most milk residue well.
Warm water, dish soap, and soft sponges
These are the safest everyday tools for most frothers. They clean well without harming delicate parts.
- Warm water loosens fresh milk residue.
- Mild dish soap cuts through milk fats.
- Soft sponges protect nonstick and polished surfaces.
- Microfiber cloths help dry and polish the outside.
How to use vinegar or baking soda safely
Vinegar or baking soda can help with odor or light buildup. Use them only when the manual allows it.
For a mild vinegar rinse, mix a small amount with water, then rinse well afterward. For baking soda, make a light paste and apply it only to stained areas.
Do not use strong cleaners, bleach, or abrasive powders unless the manufacturer says they are safe.
What to avoid when cleaning delicate parts
Some cleaning tools can do more harm than good. That is especially true with coated jugs and small moving parts.
- Use soft cloths and mild soap.
- Rinse and dry all parts fully.
- Check the manual for coating care.
- Do not use steel wool or rough pads.
- Do not scrub hard on nonstick surfaces.
- Do not soak electrical parts.
Common Cleaning Mistakes That Can Damage Your Frother
A few small mistakes can shorten a frother’s life. Most of them are easy to avoid once you know what to watch for.
Why you should never submerge the base
The base usually holds the motor and electrical parts. Water can damage those parts and create a safety risk.
Wipe the base with a damp cloth instead. Never dunk it in the sink unless the manual clearly says it is waterproof.
Scratches, harsh pads, and too much moisture
Harsh pads can scratch the jug and wear down coatings. Too much water can also get into seams and buttons.
Scratches can make milk stick more easily. That means cleaning gets harder over time.
Leaving milk to dry inside the frother
Dried milk is the biggest cleanup problem. It can cling to the whisk, lid, and corners.
It can also smell bad after a day or two. If you forget to wash it, soak the removable parts before scrubbing.
Follow the appliance manual and stop using damaged equipment. If you see cracks, loose wires, or odd smells, unplug it right away.
Safety Tips and Maintenance Habits That Help It Last Longer
Good cleaning habits also protect the frother. A little care after each use can help it work better for longer.
How to unplug, cool down, and dry parts the right way
Always unplug before cleaning. Let heated parts cool before you touch them.
After washing, dry every part fully. Moisture left in seams or around the whisk can cause buildup or damage.
Routine care for daily, weekly, and monthly cleaning
A simple schedule keeps the job easy. It also helps you spot wear before it gets worse.
Rinse right away, wash with mild soap, and dry all parts.
Check the lid, seal, and whisk area for hidden residue.
Inspect for wear, odd smells, loose parts, or weak frothing.
When to Deep Clean, Replace Parts, or Buy a New Frother
Sometimes cleaning is enough. Other times, the frother needs new parts or a full replacement.
Signs that cleaning is no longer enough
If the frother still smells sour after cleaning, buildup may be trapped in hidden areas. Weak foam can also point to worn parts.
Look for cracks, peeling coating, loose whisk parts, or electrical trouble. Those signs mean you should stop using it until you check the manual.
The frother still smells bad after washing.
Deep clean removable parts first. If the smell stays, inspect for hidden residue or worn seals.
The whisk spins poorly or foam looks thin.
Check for residue, bent parts, or wear. Replace removable parts if the maker offers them.
Cost, value, and what to look for in a new model
If parts are worn out or hard to replace, a new frother may make more sense. That is especially true if the coating is damaged.
When shopping, look for easy-clean parts, a clear manual, and replacement support. Those details often matter more than extra features.
- Check whether the whisk and lid come off easily.
- Look for dishwasher-safe parts only if the manual confirms it.
- Review warranty terms and replacement part support.
- Make sure the size fits your counter and routine.
Final Recommendation: The Best Way to Keep Your Frother Clean
The best way to clean an electric milk frother is also the easiest one. Rinse it right after use, wash it with mild soap, and dry it well.
That habit protects foam quality, keeps smells away, and helps the machine last longer. If your model has special parts or coatings, follow the manual and treat those parts gently.
Simple upkeep habits that save time and protect performance
Here is the short version. Clean fast, clean gently, and never let milk sit inside for long.
- Rinse and wash right after each use.
- Use soft tools and mild soap.
- Keep the base dry and unplugged.
- Watch for wear, smell, and weak froth.
If you keep that routine, cleaning stops feeling like a chore. It just becomes part of making a better cup.
Frequently Asked Questions
Clean it after every use if you can. A quick rinse and wash helps stop milk from drying inside.
Only if the manual says the parts are dishwasher safe. Many frothers need hand washing to protect coatings and small parts.
Sometimes, but only if the maker allows it. Use a mild mix, then rinse well so no smell or residue stays behind.
Milk may be trapped in a seal, lid groove, or whisk area. Deep clean removable parts and check for worn seals or hidden buildup.
Do not submerge the base or let water reach electrical parts. Wipe it with a damp cloth only, unless the manual says otherwise.
Replace it if the coating peels, parts crack, or it works poorly after cleaning. Also stop using it if you notice electrical damage or odd smells.