How to Customize a Coffee Mug for a Unique Gift

The easiest way to customize a coffee mug is with vinyl decals or paint pens. For a more polished gift, use sublimation or professional custom printing.
Customizing a coffee mug is one of the easiest ways to make a gift feel personal. You can use vinyl, paint, sublimation, or engraving, depending on your skill level and the look you want.
The best method depends on the mug material, how often it will get washed, and whether you want a quick DIY gift or a polished keepsake. In short: start with the mug, then match the design method to it.
- Start simple: Ceramic mugs work best for most DIY methods.
- Match the method: Use vinyl, paint pens, sublimation, or engraving by surface.
- Prep matters: Clean, dry mugs help designs stick and last longer.
- Safety first: Follow cure times, heat rules, and product labels.
What It Means to Customize a Coffee Mug
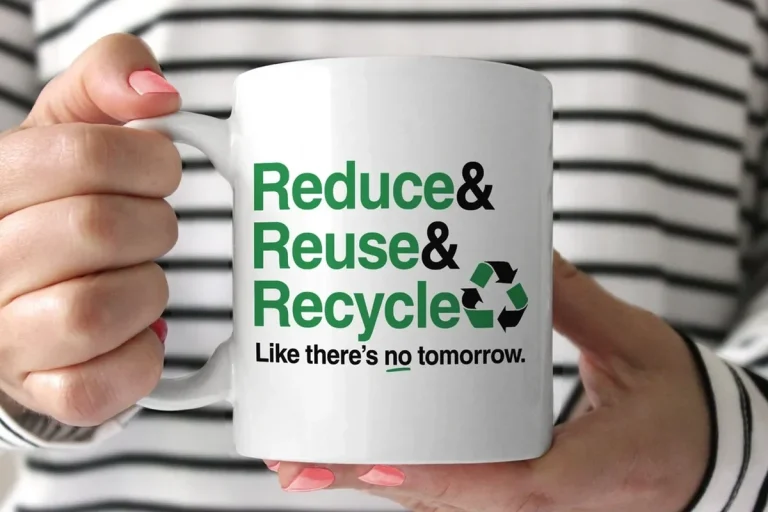
To customize a coffee mug means adding a name, message, image, or design that makes it feel one of a kind. That can be as simple as a hand-drawn heart or as detailed as a full photo print.
The goal is not just decoration. A good custom mug should also hold up to daily use, cleaning, and warm drinks.
Simple ways to make a mug feel personal
You do not need fancy tools to make a mug special. A name, date, short quote, or favorite color can do a lot of work.
For example, a mug with “Dad’s Coffee Only” feels more thoughtful than a plain store mug. A small detail often matters more than a busy design.
Pick one clear idea. Simple designs often look cleaner and age better than crowded ones.
When a custom mug makes the best gift
A custom mug works well for birthdays, holidays, office gifts, teachers, and housewarmings. It also fits low-cost gift swaps where you still want something personal.
It is a smart choice when you know the person’s hobbies, pet names, or favorite sayings. In short: the more personal the detail, the more the gift feels made for them.
Best Customization Methods for 2026
In 2026, the most useful mug customization methods are still the same core ones. The main difference is how polished you want the result to look.
Vinyl decals and stickers
Vinyl decals are a popular beginner choice. They let you add names, shapes, and simple art without paint or heat tools.
They work best for decorative mugs or light use. If the mug gets washed a lot, durability depends on the vinyl quality and how well it is sealed.
Sublimation printing
Sublimation gives a smooth, printed look that can handle detailed art and photos. It usually needs special coated mugs, transfer paper, and heat equipment.
This method is a strong choice for a gift that should look store-made. However, it is less flexible than other methods because it needs the right mug surface.
Paint pens and hand lettering
Paint pens are a simple way to write names, quotes, or small drawings by hand. They work well if you want a warm, handmade feel.
The finish can be charming, but the result depends on steady hands and careful curing. Small mistakes can show, so practice on paper first.
Etching and engraving
Etching and engraving create a more permanent look. They are often used for glass, coated metal, or certain ceramic designs.
This method feels polished and lasting. It also takes more care and the right tools, so it is not the easiest place to start.
Method names can vary by product and material. Always check the mug and supply labels before you start.
How to Choose the Right Mug and Materials
The mug matters as much as the design. A smooth ceramic mug is easier for many DIY methods than a textured or curved one.
You should also think about how the mug will be used. A daily coffee mug needs stronger materials than a display piece.
Mug types, sizes, and finishes
Ceramic mugs are the most common choice for DIY projects. They usually work well with decals, paint pens, and some print methods.
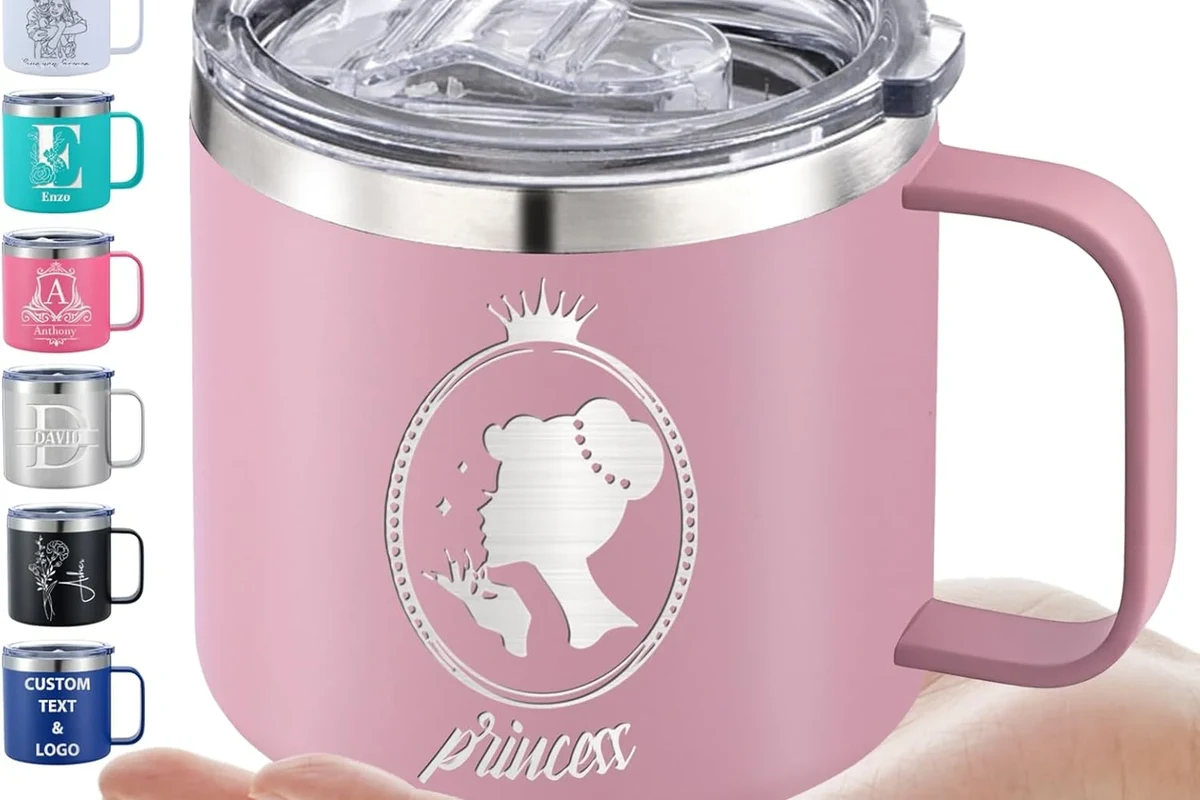
Glass mugs can look elegant, but they may need different inks or etching products. Travel mugs often need special coatings and are not always easy to customize at home.
Tools, inks, paints, and sealers
Choose supplies made for the mug’s surface. A paint pen made for ceramic is safer than a random craft marker.
You may also need rubbing alcohol, transfer tape, painter’s tape, stencils, heat-safe paint, or a sealer. The right sealer can help, but it does not fix poor prep work.
Which methods work best on ceramic, glass, and travel mugs
Ceramic mugs give you the widest choice. They often work well with vinyl, paint pens, and sublimation.
Glass mugs usually suit etching and some specialty decals. Travel mugs can be tricky, because coatings and insulation layers vary by brand.
| Option | Best For | Key Consideration |
|---|---|---|
| Ceramic | Most DIY mug projects | Best all-around surface for beginners |
| Glass | Elegant or etched looks | Check product-safe materials first |
| Travel mug | Everyday carry gifts | Verify coating and care rules |
Step-by-Step Guide to Customizing a Coffee Mug
A clean process helps the design last longer. Most failures happen because people rush prep or skip curing.
Choose one theme, one font style, and one main color plan.
Wash and dry the mug fully. Then wipe it with alcohol if your method allows it.
Place decals, paint, or print transfers carefully. Follow the product’s drying or heat instructions.
Use only the curing method listed for your supplies or mug. Never guess with heat settings.
Plan your design and message
Start with the person, not the craft supply. Think about their job, hobby, pet, favorite drink, or inside joke.
Keep the text short if you want a cleaner result. A mug is a small space, so less often looks better.
Prepare the mug surface
Wash the mug with mild soap and dry it well. Oils from your hands can make decals slip or paint resist the surface.
If your supply instructions allow it, wipe the area with rubbing alcohol. That can help remove leftover residue.
Apply the design and let it cure
Apply the design slowly and smooth out bubbles as you go. If you are using paint, build thin coats instead of one thick coat.
Let the mug dry for the full time listed on the product package. Rushing this step can cause smears, cracks, or peeling later.
Seal, bake, or finish the mug safely
Some mug projects need air drying. Others need heat curing in an oven or a special machine.
Follow the supply label and mug instructions exactly. Do not use high heat unless the product says it is safe.
Never put a mug in the oven unless the method calls for it. If the mug has metal parts, special coatings, or a travel lid, check the manual first.
Design Ideas That Feel Thoughtful and Unique
Good mug gifts feel personal without trying too hard. The best ideas usually connect to a real memory or habit.
Names, quotes, and inside jokes
A name or nickname makes the mug feel made for one person. A short quote can also work well if it matches their style.
Inside jokes are great, but keep them readable. If the joke needs a long explanation, the design may lose its charm.
Photo mugs and memory themes
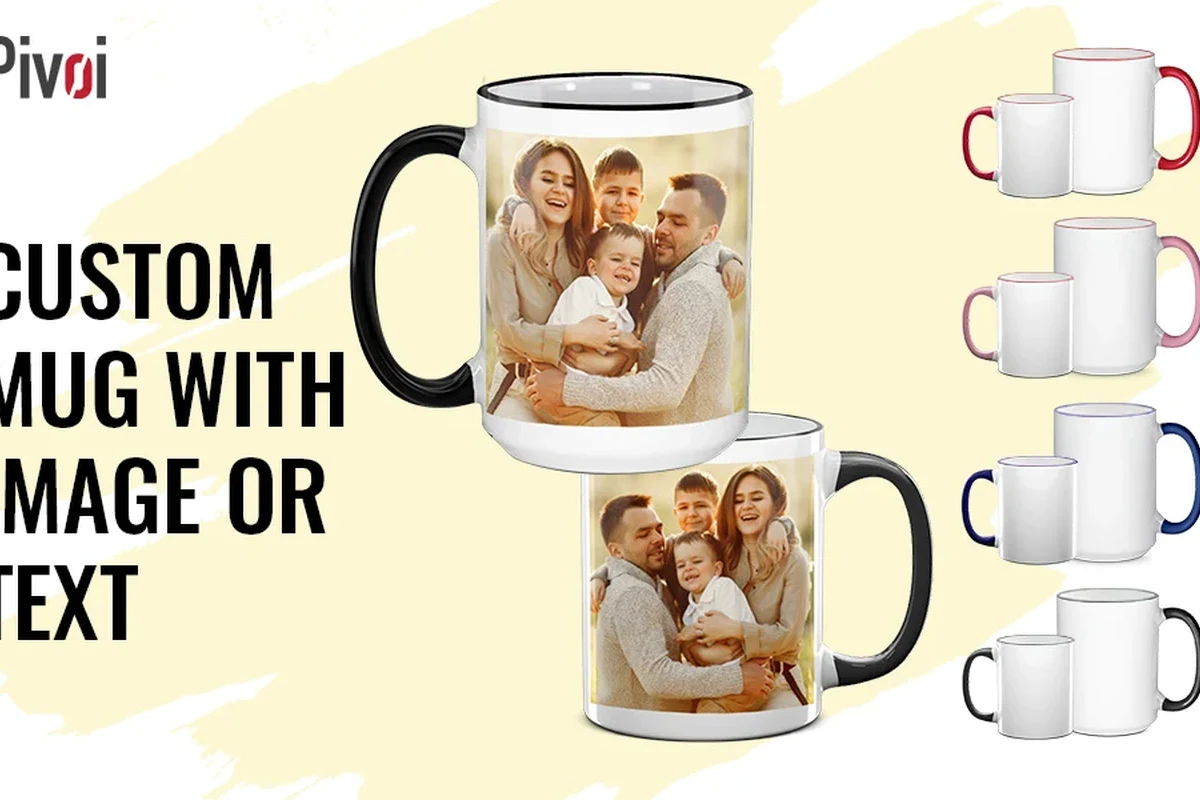
Photo mugs work well for family gifts, pets, trips, and milestone events. They can bring back a memory every morning.
Use clear, high-quality images when possible. Blurry photos often look worse once printed on a curved mug.
Simple designs often read better from a distance than crowded ones on a curved mug.
Seasonal, hobby, and work-themed ideas
Seasonal mugs make easy holiday gifts. Hobby themes also work well, like gardening, baking, books, or fishing.
Work-themed mugs can be fun too. Just keep them friendly if the gift is for a coworker or boss.
Common Mistakes and How to Avoid Them
Most mug mistakes are easy to prevent. The key is to match the method to the material and follow the cure steps.
Smudging, peeling, and faded prints
Smudging usually happens when the mug is handled too soon. Peeling often means the surface was not clean or the adhesive was weak.
Faded prints can come from the wrong heat, poor-quality supplies, or repeated washing. In short: prep and cure time matter a lot.
The design looks messy, cloudy, or starts lifting.
Clean the mug again, recheck the instructions, and give it full cure time.
Using unsafe or low-quality materials
Not every marker, glue, or paint is safe for a mug. Some craft products are fine for display but not for drinkware.
Use products made for the mug’s surface and follow any food-contact guidance. If a label is unclear, choose a safer option.
Skipping cure time or heat settings
Many DIY mugs fail because the maker gets impatient. A design may look dry before it is fully cured.
Heat can also damage the mug or the design if you use the wrong setting. Check the manual and product label before baking anything.
Stop using a mug if you see cracks, flaking coating, or peeling paint near the drinking area.
Care, Cleaning, and Long-Term Value
How you clean a custom mug matters almost as much as how you make it. Gentle care can keep the design looking fresh much longer.
Hand wash vs. dishwasher-safe finishes
Some custom mugs are hand wash only. Others may be labeled dishwasher safe, but that can still depend on the print method.
If you are unsure, hand wash the mug. That is usually the safest way to protect decals, paint, and printed art.
How to keep custom mugs looking new
Use a soft sponge and mild soap. Avoid rough scrubbers on printed or painted areas.
Let the mug dry fully before storage. Stacking mugs too tightly can scratch the finish over time.
Wash gently and dry right away.
Check for chips, peeling, or weak spots in the design.
Cost, durability, and when DIY beats store-bought
DIY often wins when you want a personal gift and already have basic supplies. It also helps when you want a one-off design that stores do not sell.
Store-bought custom mugs can be better when you want a clean print, fast turnaround, or a photo-heavy design. If you need a gift in a hurry, that route can save stress.
Best when you want a personal touch and flexible design choices.
Best when you want a polished finish with less hands-on work.
Final Recommendation: The Best Way to Customize a Coffee Mug for a Gift
If you want the easiest path, start with a ceramic mug and a simple vinyl or paint pen design. That gives most beginners a good mix of control, speed, and charm.
Best method for beginners
Paint pens or vinyl decals are usually the easiest for first-time makers. They do not need special print gear, and they work well for names and short messages.
Best method for a polished gift result
Sublimation is often the best choice for a smooth, finished look. It works especially well when you want photos or fine detail.
When to DIY and when to buy custom
DIY makes sense when the gift needs a personal touch and you have time to let it cure. Buy custom when you want a more refined result or need to avoid trial and error.
The best way to customize a coffee mug for a gift depends on the mug, the message, and your comfort level. Beginners should start with vinyl or paint pens, while photo gifts often look best with sublimation. If you want a keepsake that feels polished fast, buying custom can still be the smarter move.
Frequently Asked Questions
Vinyl decals and paint pens are usually the easiest options. They need fewer tools and work well for names, quotes, and simple art.
Smooth ceramic mugs are the easiest for most home projects. Glass and travel mugs can work too, but they often need special supplies.
Clean the mug well, use the right product for the surface, and let it cure fully. Hand washing also helps the design last longer.
Only if the mug and design method are labeled dishwasher safe. If you are unsure, hand wash it to protect the finish.
Check the mug label, supply instructions, and any coating or metal parts first. Never use oven heat unless the method clearly allows it.
Buy one when you want a polished photo gift, a fast turnaround, or less trial and error. DIY is better when you want a personal touch and more design freedom.