How to Froth Milk with Electric Milk Frother Like a Pro

Use cold milk, fill only to the line, and choose the right froth setting. Stop when the foam looks glossy and smooth, then clean the frother right away.
If you want café-style foam at home, an electric milk frother makes it easy. The basic method is simple: add the right milk, choose the right setting, and stop when the foam looks smooth and glossy.
- Milk matters: Whole milk and barista oat milk usually foam best.
- Fill less: Leave room for foam to rise in the jug.
- Watch texture: Stop before the milk turns bubbly or cooked.
- Clean fast: Rinse and dry parts soon after each use.
What “How to Froth Milk with Electric Milk Frother” Really Means
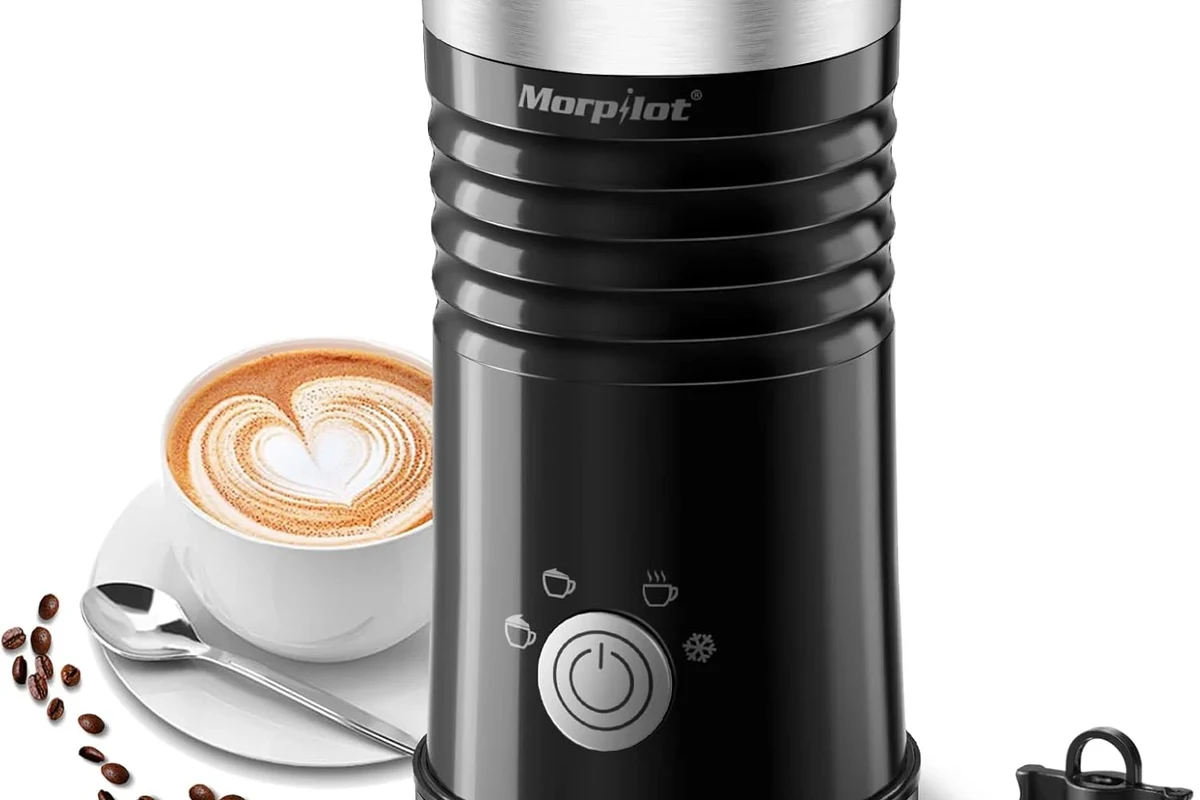
People usually mean one of two things. They want warm milk with light foam, or they want thicker foam for drinks like cappuccinos and hot chocolate.
An electric milk frother does the hard part for you. It heats the milk, spins air into it, or both, depending on the model.
That matters because milk foam changes fast. A few extra seconds can turn silky foam into big bubbles or thin foam.
Quick answer for busy readers
Use cold or cool milk, fill only to the line, and choose the right froth mode. Stop the frother as soon as the milk looks creamy and the jug feels hot, not boiling.
What an electric milk frother does
Most electric frothers use a whisk, a heating base, or both. Some make hot foam. Others make cold foam for iced drinks.
The whisk pulls air into the milk. Heat helps the milk proteins hold that air in a stable foam.
Why this method works for home drinks
Electric frothers give you repeatable results with little effort. That helps if you make one latte in the morning or a few drinks for guests.
They also save counter space compared with larger espresso gear. For many homes, that makes them a smart middle ground.
Results vary by model, milk type, and fill level. Always check the manual for the correct froth setting and max line.
Choose the Right Milk and Frother Settings
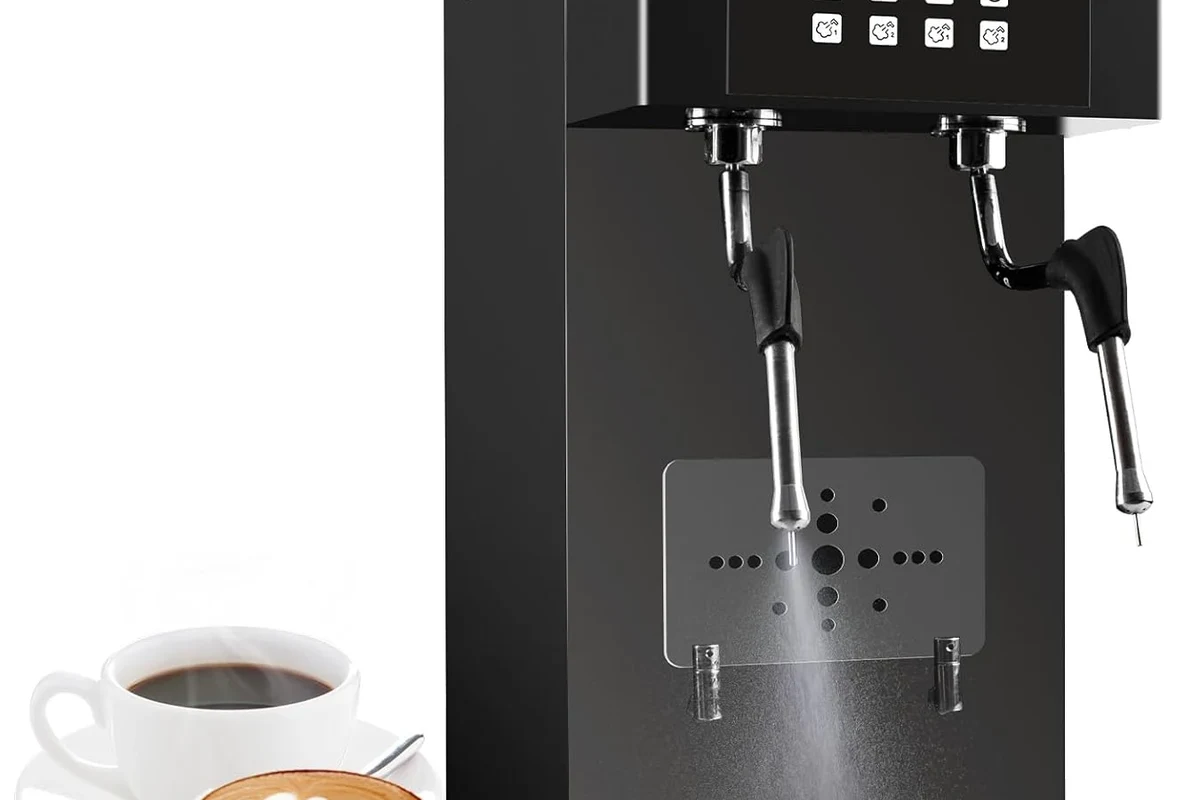
Good foam starts before you press the button. Milk type, temperature, and amount all shape the final texture.
Best milk types for foam and heat
Whole milk usually gives the richest foam. The fat helps create a smooth, creamy feel.
Low-fat milk can foam well too. It often makes a lighter, airier top.
Ultra-pasteurized milk may work, but results can vary. Fresh milk often gives more reliable foam.
Dairy vs. plant milk results
Dairy milk usually foams the easiest. It also holds a stable texture for longer.
Plant milks can work, but not all brands behave the same. Barista-style oat milk often gives the best home results.
Almond, soy, and coconut milks may foam less evenly. Some taste great, but the foam can break faster.
Milk foams best when proteins trap air bubbles. That is why overheated milk can collapse more easily.
Milk volume, temperature, and fill line tips
Do not overfill the jug. Foam expands, so leave room for it to rise.
Cold milk often froths better than warm milk at the start. It gives the machine more time to build fine foam.
Use the fill line if your frother has one. If it does not, leave plenty of space above the milk.
Step-by-Step: How to Froth Milk with Electric Milk Frother
Here’s the simple home method. Keep it calm and slow the first time you try it.
Prep the frother and milk
Set the frother on a flat, dry surface. Make sure the whisk is seated correctly.
Pour in the milk only up to the max line. If you use plant milk, shake the carton first.
Never run the frother with no milk if the manual says not to. Do not touch hot metal or liquid right after the cycle ends.
Heat and froth the milk
Select the hot froth setting if you want a latte or cappuccino drink. Choose cold foam if you want an iced drink.
Press start and let the frother work without moving it. Lifting or shaking the jug can ruin the foam.
Most frothers stop on their own. If yours does not, watch it closely and stop before the milk gets too hot.
Fill only to the marked line or below it.
Pick hot foam, warm milk, or cold foam as needed.
Let the frother run until the milk looks smooth and airy.
Use the foam soon after frothing for the best texture.
Check foam texture and stop at the right time
Good foam looks glossy and even. It should not look dry or full of large bubbles.
If the milk starts to smell cooked, you likely went too far. Stop sooner next time.
A gentle swirl can help remix milk and foam before pouring. Do not stir hard.
Pour and use the froth in drinks
Pour the milk slowly into your cup. Hold back the foam with a spoon if you want layers.
For a latte, pour milk first, then spoon a little foam on top. For cappuccino, let more foam flow into the cup.
What Good Froth Looks Like and How to Fix Bad Results
Great foam has a soft shine and tiny bubbles. It should look like wet paint, not bath soap.
Signs of silky microfoam
Silky microfoam looks smooth from edge to edge. It blends well with espresso and does not sit in one stiff mound.
You should also see a fine, creamy texture. It should not separate fast.
Why foam turns thin, bubbly, or flat
Thin foam often comes from low-protein milk or too much milk in the jug. Big bubbles usually mean the frother whipped too hard or too long.
Flat foam can happen if the milk got too hot. It can also happen if the milk sat too long before pouring.
Common mistakes and easy fixes
The foam looks watery and breaks fast.
Use colder milk, reduce the fill level, and try a barista-style milk.
The foam has big bubbles on top.
Choose a gentler setting and stop the cycle sooner.
The milk tastes cooked.
Use a lower heat setting if available and end the cycle earlier.
- Use fresh milk and the correct fill line.
- Pour the foam soon after frothing.
- Clean the whisk after every use.
- Do not overfill the jug.
- Do not re-froth milk many times.
- Do not use damaged cords or cracked jugs.
Safety Tips, Cleaning, and Daily Care
Electric frothers are simple, but they still need care. Heat, steam, and moving parts can cause trouble if you rush.
Milk safety and burn prevention
Use clean milk and clean tools. Do not leave milk out for long before frothing.
Be careful when you open the lid. Hot steam can escape fast.
If the jug or base feels damaged, stop using it. Check the manual and contact the maker if needed.
How to clean the frother after each use
Unplug the unit first if the manual calls for that. Let it cool before cleaning.
Rinse the jug and whisk soon after use. Milk dries fast and becomes harder to remove.
Use a soft sponge and mild soap if the manual allows it. Avoid harsh pads that can scratch the surface.
Rinse, wipe, and dry all removable parts right away.
Check the whisk, seals, and coating for wear or buildup.
Care tips to keep the whisk and jug working well
Store the frother dry. Moisture can leave odors or residue.
If the whisk looks bent or loose, replace it if the brand offers parts. Do not improvise with random metal pieces.
Follow the appliance manual and stop using damaged equipment.
Electric Milk Frother Features That Matter in 2026
If you are shopping for one now, focus on the features that affect daily use. Fancy extras matter less than easy cleaning and steady results.
Heat control and froth modes
Some frothers offer warm milk, hot foam, and cold foam. That gives you more drink choices.
Better heat control can help protect milk flavor. It can also reduce the chance of scorching.
Capacity, speed, and noise
Capacity matters if you make drinks for more than one person. A small jug works fine for one cup.
Speed is nice, but only if the foam stays smooth. Very fast frothers can make rough foam in some cases.
Noise can matter in small kitchens. A quieter unit feels nicer for early mornings.
Nonstick coating, auto shutoff, and easy-pour spouts
A nonstick interior can make cleanup easier. Just handle it gently so the coating lasts.
Auto shutoff is helpful because it lowers the chance of overheating. An easy-pour spout can also cut down on spills.
Value for money and what to skip
Look for the features you will use every week. Skip extras that sound fun but do nothing for your drinks.
For most buyers, a reliable frother with simple controls beats a complicated one with more modes.
Best Drinks to Make After Frothing Milk
Once you know how to froth milk, the drink list opens up fast. You can use the same base skill in many ways.
Latte, cappuccino, and macchiato basics
Lattes use more steamed milk and a little foam. Cappuccinos use more foam and a stronger coffee base.
Macchiatos usually use just a small amount of milk or foam. The exact style can vary by café or recipe.
Hot chocolate and matcha use cases
Frothed milk makes hot chocolate feel richer and smoother. It also helps matcha drinks taste creamier.
For these drinks, you usually want soft foam, not stiff foam. That keeps the drink balanced.
Iced drinks and cold foam ideas
Cold foam works well on iced coffee and iced chocolate drinks. It adds a creamy top without extra heat.
You can also use it in cold matcha drinks. Just make sure the milk or milk alternative suits cold frothing.
Best Uses for a Home Milk Frother
Think of a frother as a small upgrade that makes everyday drinks feel special.
Final Recommendation: Is an Electric Milk Frother Worth It?
For most home coffee drinkers, yes, it’s worth it. It saves time, adds texture, and makes basic drinks feel better.
The key is choosing a model that fits your habits. A simple frother is often enough for one or two drinks a day.
Who should buy one
Buy one if you make lattes, cappuccinos, matcha, or hot chocolate often. It also makes sense if you want café-style drinks without a full espresso setup.
Who may not need one
You may not need one if you rarely drink milk-based drinks. You may also skip it if you already have another steam or froth tool you love.
Bottom-line verdict for Red Kitchen Project readers
An electric milk frother is a small appliance with a big payoff. If you pick the right milk, avoid overfilling, and clean it well, you can get smooth foam at home with very little effort.
An electric milk frother is a smart buy for easy, café-style drinks at home. Choose a simple, easy-clean model unless you need large batches or extra froth modes.
- Use cold milk and stay under the max fill line.
- Choose the right mode for hot foam or cold foam.
- Stop when the foam looks glossy and smooth.
- Clean the jug and whisk right after each use.
Frequently Asked Questions
Whole milk usually makes the richest foam, while low-fat milk can make a lighter one. Barista-style oat milk is often the best plant-based choice, but results vary by brand.
Big bubbles often mean the milk got whipped too hard or too long. Try a lower setting, less milk, and a shorter cycle.
Let the frother cool, then rinse and wipe it soon after use. Follow the manual for soap, water, and any removable parts.
Yes, many plant milks can froth well, but the results depend on the brand and recipe. Barista-style versions usually work better than basic cartons.
Use the fill line if your model has one, and never overfill the jug. Foam expands, so leave extra room for the milk to rise.
Check the cord, jug, whisk, and power source first, and stop using damaged equipment. If the problem continues, follow the manual or contact the maker.